

Crisp, crunchy, tangy and subtly sweet, Pickled Red Onions are the perfect way to add a zesty twist to any dish!
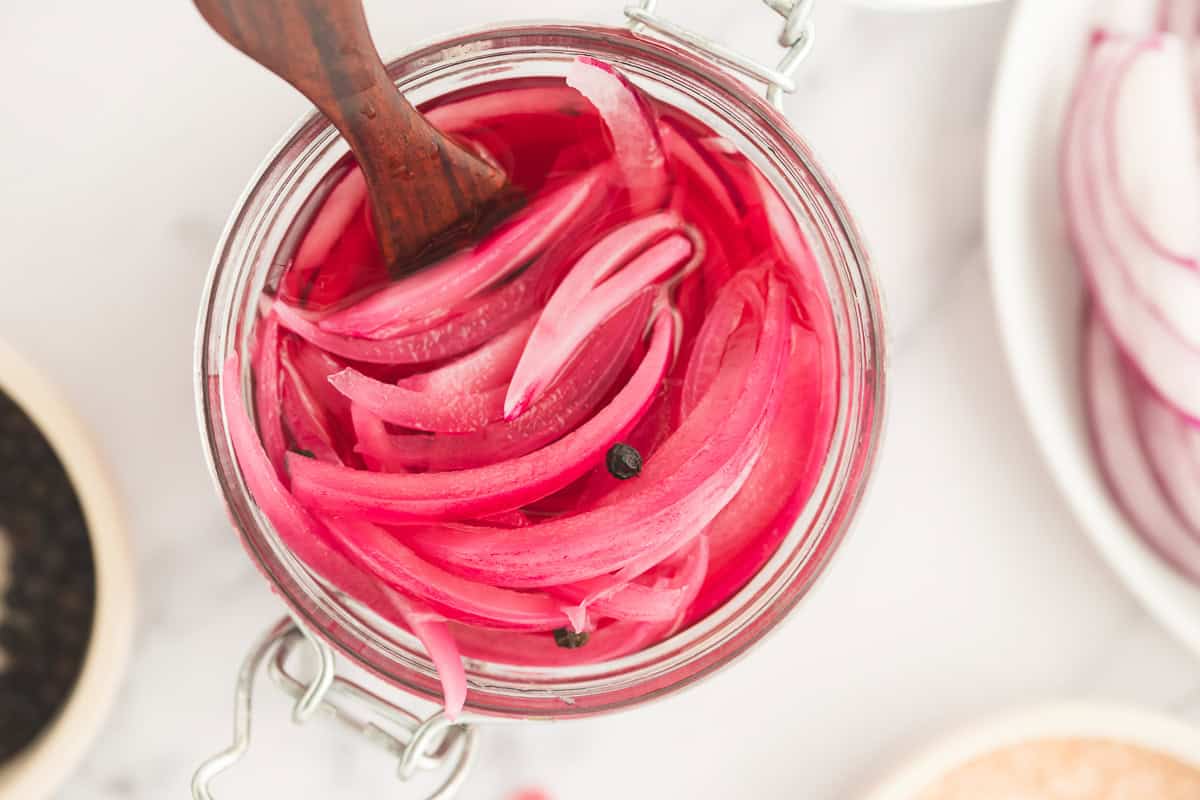
Made with Apple cider vinegar and honey, this recipe is a fruitier, gut-loving version of the beloved garnish.
With a tangy bite balanced by subtle sweetness, pickled red onions are a beautifully delicious way to brighten up almost any dish! They add the perfect zesty crunch to burgers, tacos, tostadas, sandwiches, salads, savoury breakfasts, and so much more.
Plus, they're incredibly easy to make, taking no more than 10 minutes and only requiring 6 base ingredients.
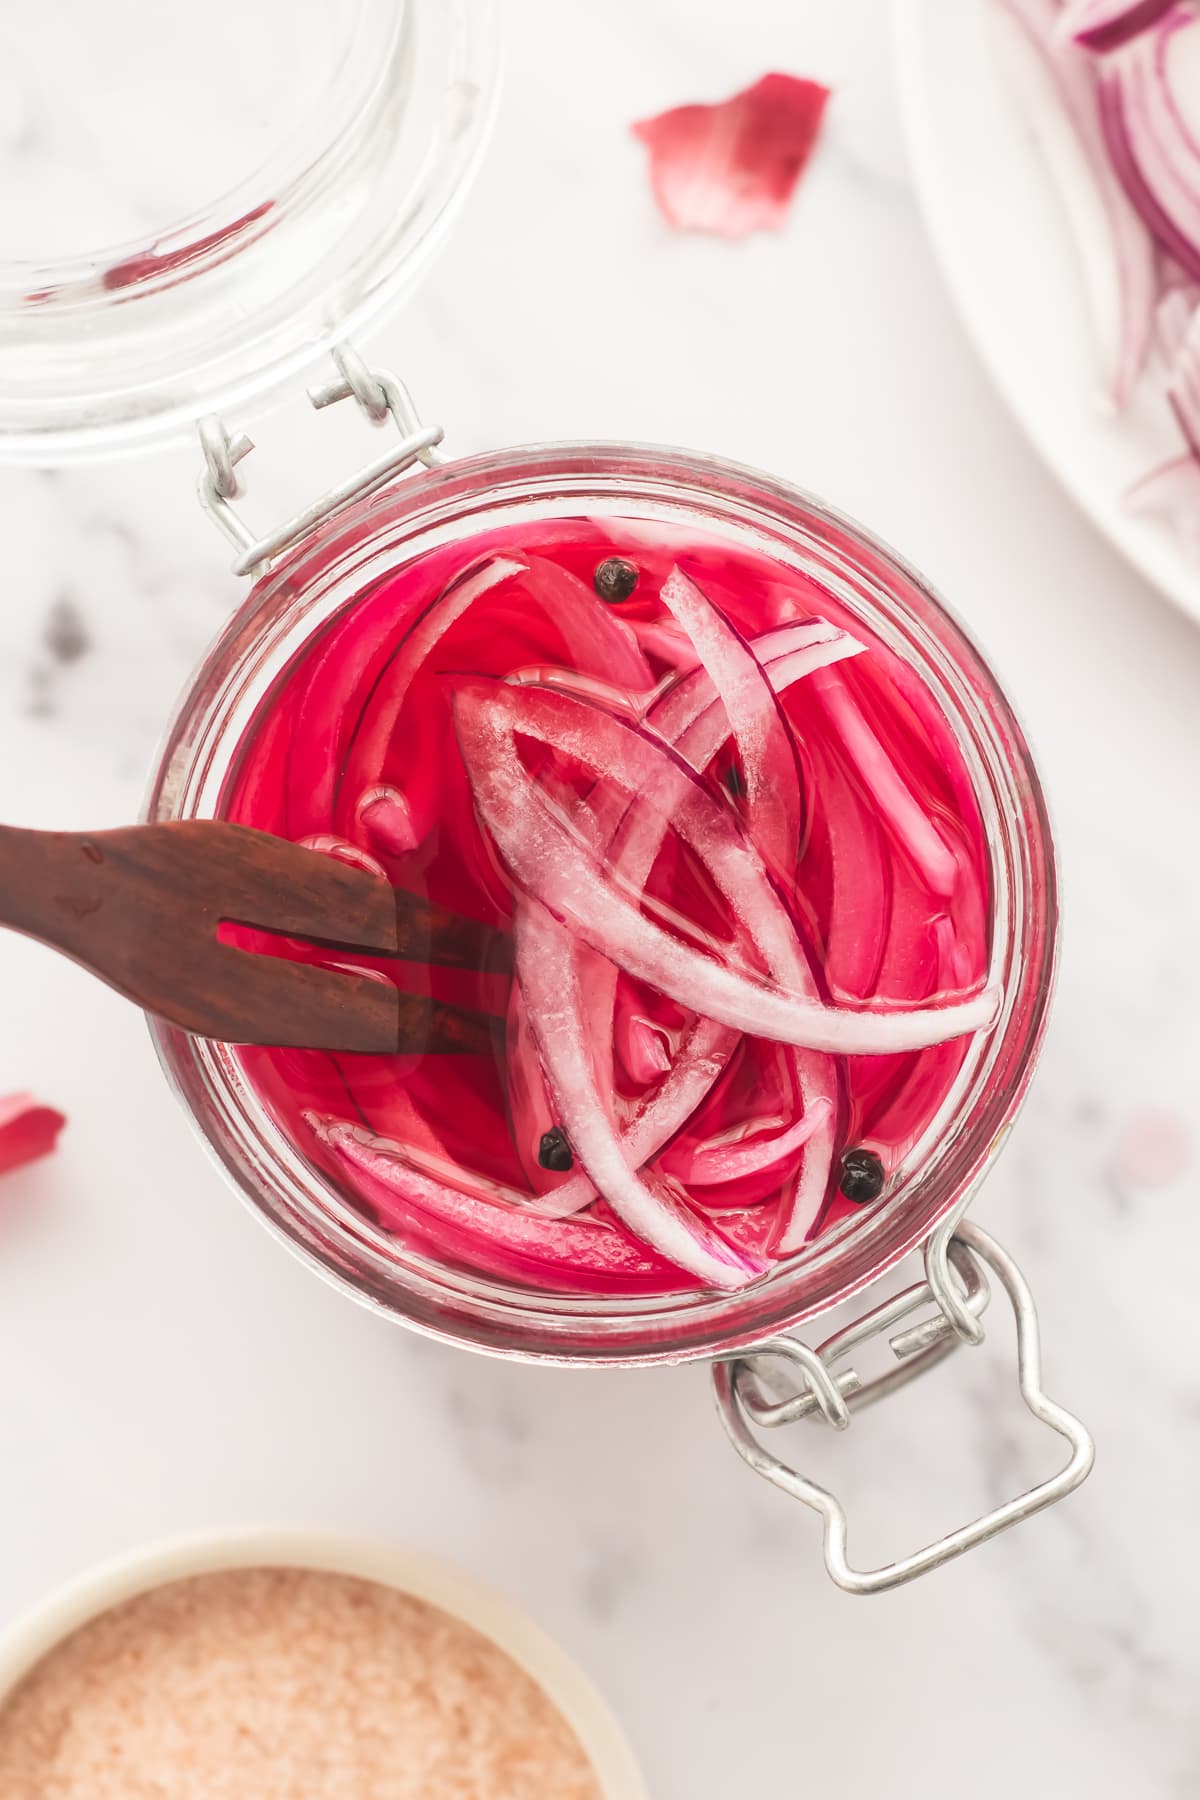
Are Pickled Red Onions Healthy?
Red onion is a great source of fibre, antioxidants and other nutrients. Pickling it in an apple cider vinegar brine with honey instead of white sugar is a delicious way to make the popular garnish with clean, minimally processed ingredients.
Health Benefits
Rich in vitamins and minerals. Red onions are a great source of potassium, calcium, vitamin C and folic acid, while apple cider vinegar is high in acetic acid, which can improve the absorption of certain nutrients.
Antioxidant-rich. Red onions are packed with antioxidants like quercetin and anthocyanins, which can help reduce inflammation and support heart health.
Gut-friendly. Raw apple cider vinegar (with the mother) can act as a prebiotic (feeding good bacteria), help balance blood sugar (leaving less for bad bacteria to feed on), and improve digestion (which can reduce the risk of leaky gut).
Supports healthy digestion. The sour flavour and acetic acid in apple cider vinegar can help stimulate bile release for better digestion and nutrient absorption.
Antimicrobial. Red onions, apple cider vinegar and raw honey all contain antimicrobial properties that can support the body's natural defence mechanisms.
Seasonal Benefits
Spring and summer are great seasons to add a little tang to savoury dishes! Pickled red onions make a delicious garnish for burgers, sandwiches, wraps, toast and tacos.
Autumn and winter meals can get a little heavy. Which is why I like to lighten things up with pickled red onions. They can add a fresh crunch, and the tangy apple cider vinegar can help get those digestive juices flowing. The antimicrobial properties can also help keep those seasonal sniffles at bay.
How to Make Pickled Red Onion with Apple Cider Vinegar
Making Pickled Red Onion with apple cider vinegar is so simple! You only need 6 ingredients and 10 minutes (at most) to prepare this yummy, gut-loving garnish.
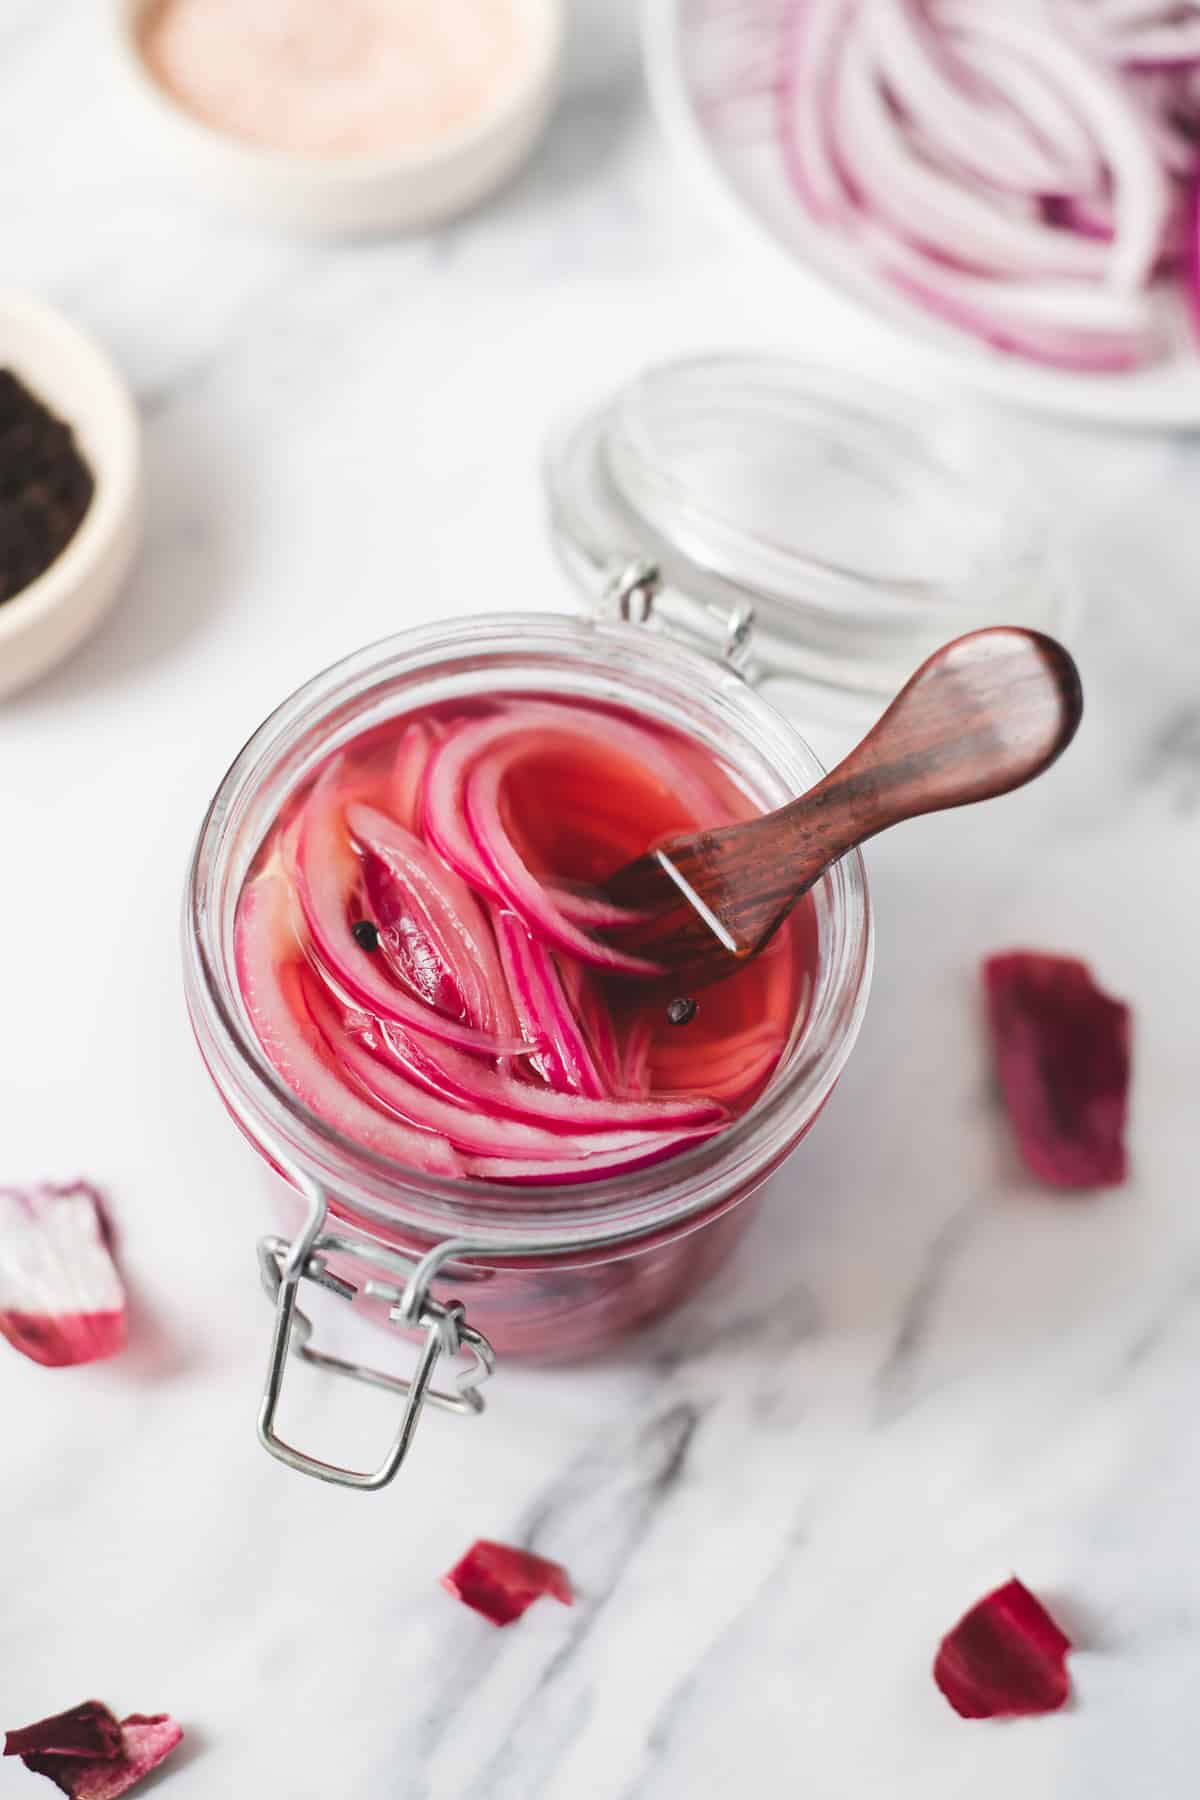
What You Will Need
Equipment
- Clean Glass Jar - To make a single batch, you will need a 1-pint jar or 2 half-pint jars.
- Stovetop - While you don't have to warm the brine for quick pickles, warming it helps the onions absorb the brine faster. I also find it helps dissolve the salt and honey for an evenly distributed flavour.
- Saucepan - If you're not warming the brine, you can mix it in a liquid measuring cup instead.
- Knife or Mandoline - To slice the onion finely, use a sharp, sturdy knife or a mandoline.
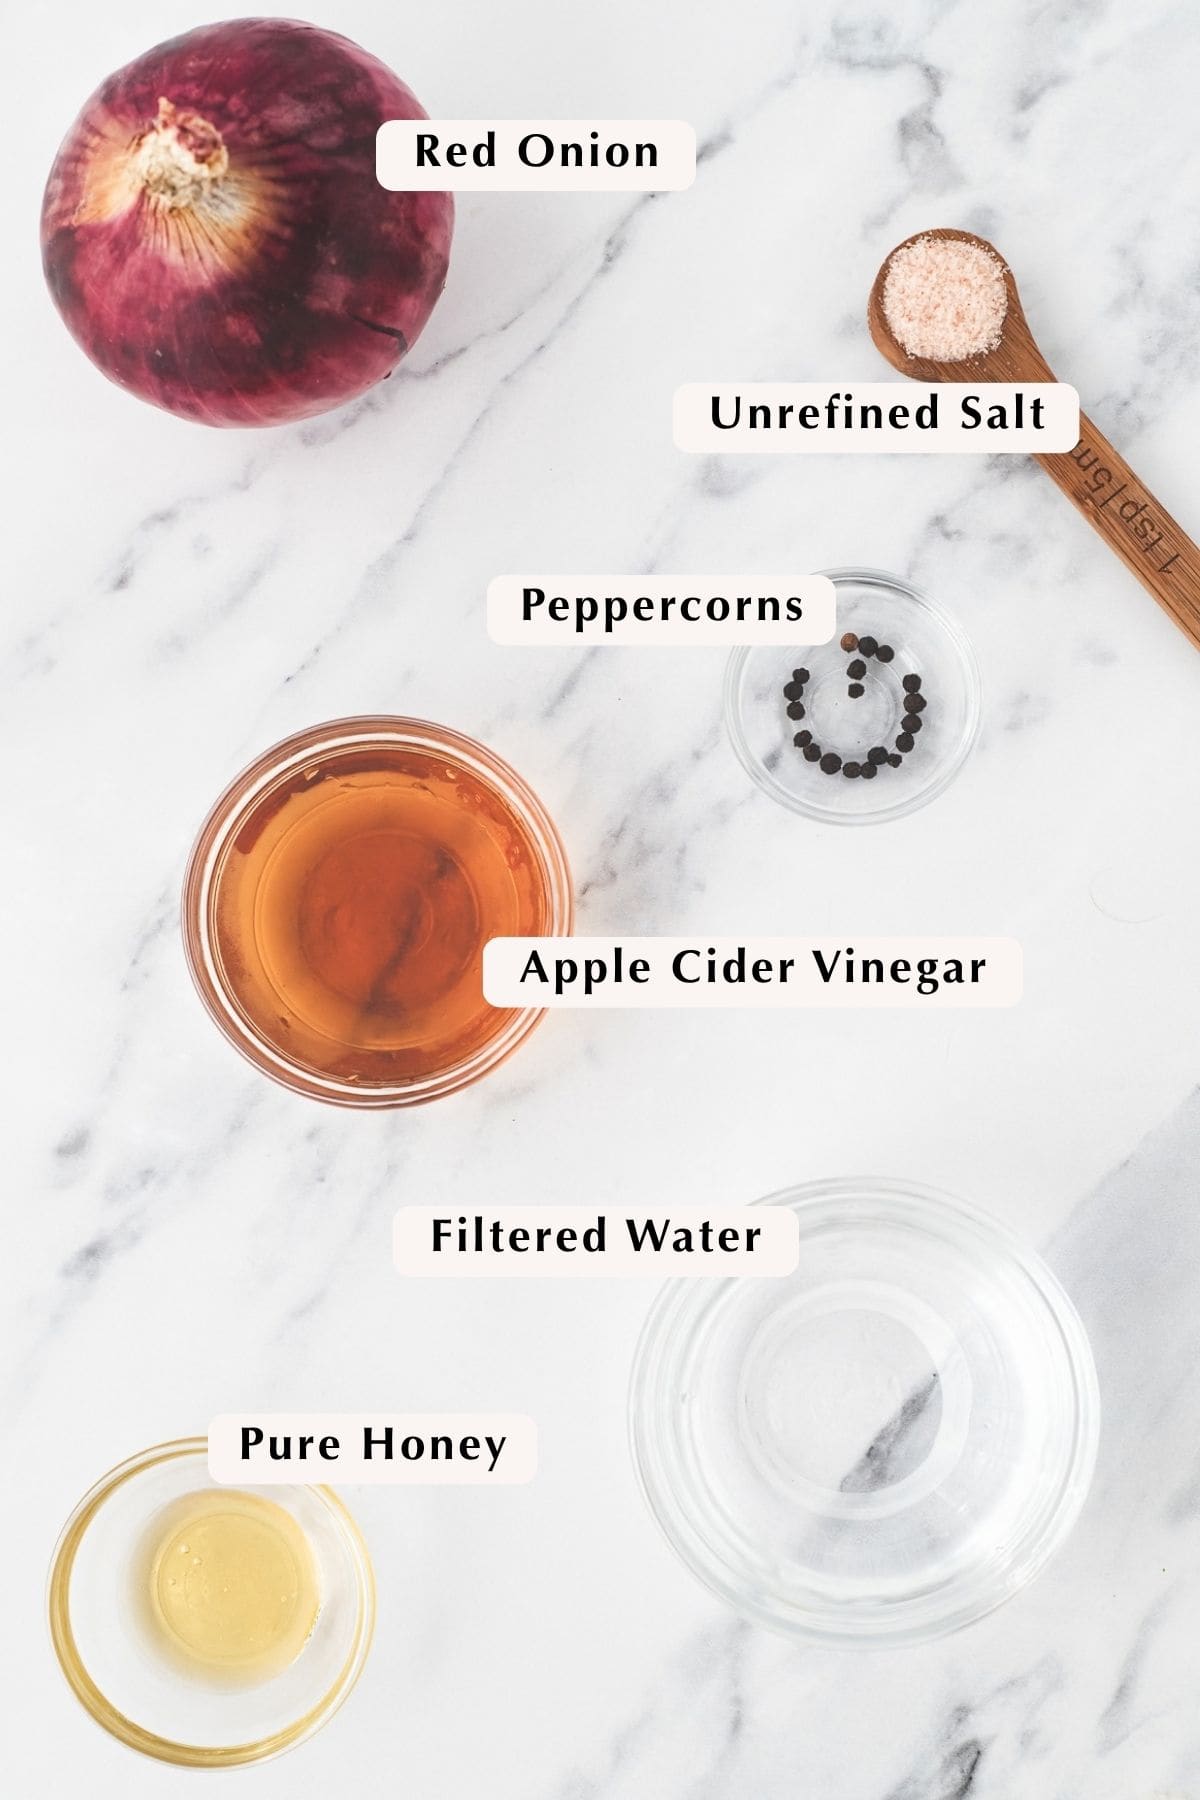
Ingredients
- Red onion offers a bold flavour and a satisfying crunch.
- Apple cider vinegar offers a sweeter, fruity flavour. It's also gentler on the digestive system than white vinegar and may provide prebiotics if it contains the mother.
- Filtered water acts as the main base of the brine, cutting the acidity of the vinegar.
- Honey or pure maple syrup adds a touch of sweetness to balance the punchiness of the onions and vinegar.
- Unrefined salt helps bring out the flavours, tame the acidity, and keep the onions crunchy.
- Whole Peppercorns dissolve slowly into the brine, adding a very subtle warmth and depth of flavour.
Step 1: Make Brine
First, combine the water, apple cider vinegar, honey and salt in a small saucepan.
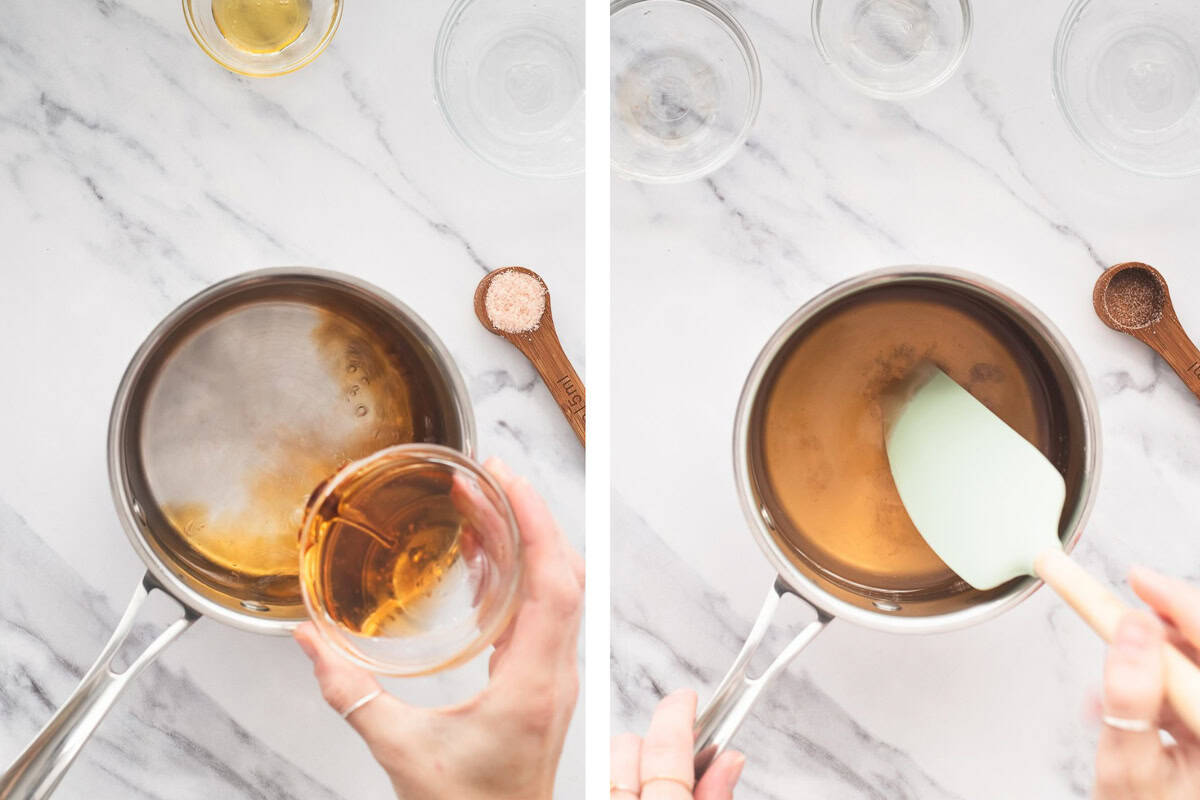
Place over medium-low heat and stir occasionally until the honey and salt dissolve. When using unrefined salt, it's normal that not all the granules fully dissolve.
Once the brine begins to bubble, remove it from the heat and let it stand until you're ready to pour it over the onions.
Step 2: Slice Red Onion
After many, many batches of pickled red onions, I've come to realize the way you slice matters!
Slicing against the grain to make thin rings can make a stunning presentation. They also absorb the brine faster, so they can be served sooner. This method has a couple of downsides, though.
First, they don't stay as crisp and crunchy (though that could be an upside depending on your preference). Second, without a mandoline, it's far too tedious to get nice, even slices.
Cutting with the grain holds a crunchier texture and makes it much easier to get even slices with just a knife.
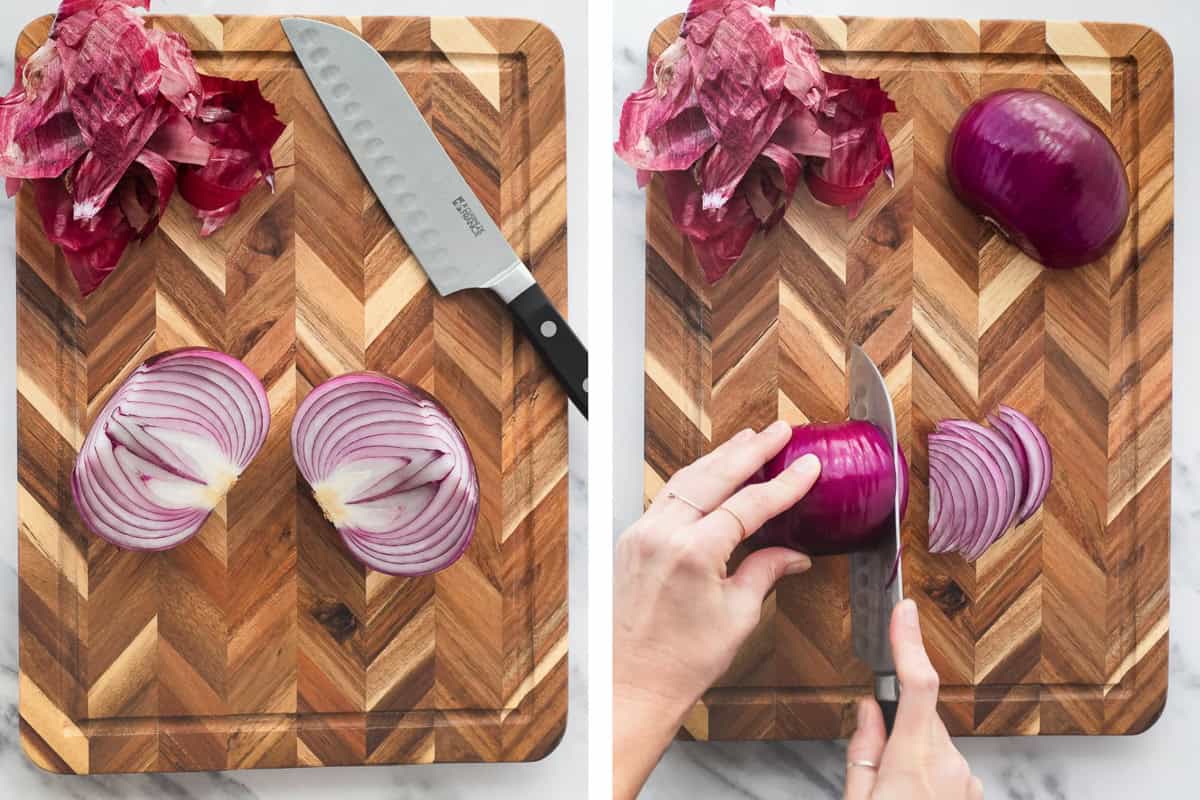
To slice an onion with the grain, start by cutting the onion in half lengthwise (from the stem to the root). Then place the onion halves flat on the cutting board and trim off the ends.
Starting from the bottom edge, slice the onion along the grain. Continue slicing until the onion half starts to get wobbly (usually around the halfway point). Flip the onion down to stabilize it, then continue slicing along the grain.
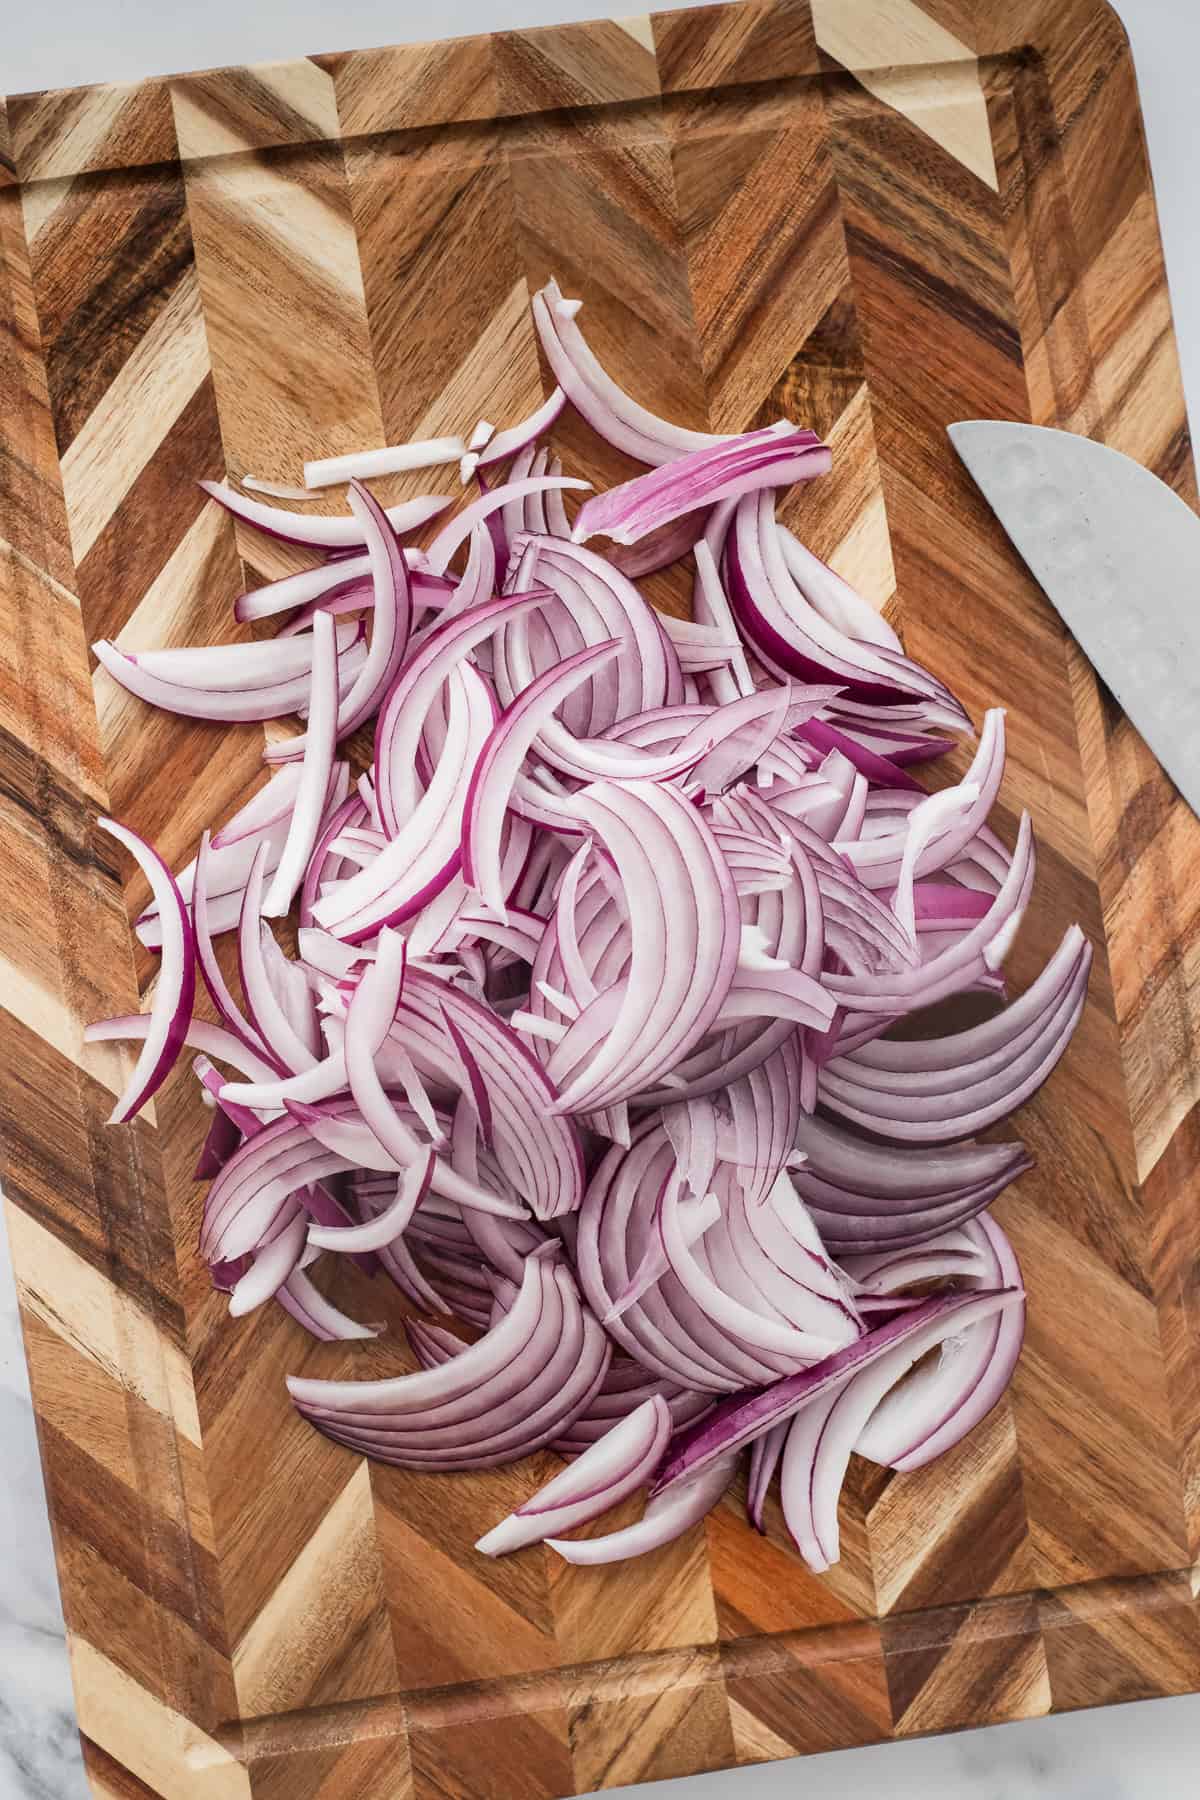
Repeat this process with the other onion half.
Step 3: Combine
First, drop the peppercorns into a clean pint jar or split them into two half-pint jars. You can also add any extra herbs or spices (like garlic and dill) at this time.
With clean hands, pack the onion slices into the jar as evenly as possible. Gently press the onion down as you fill the jar to avoid large gaps.
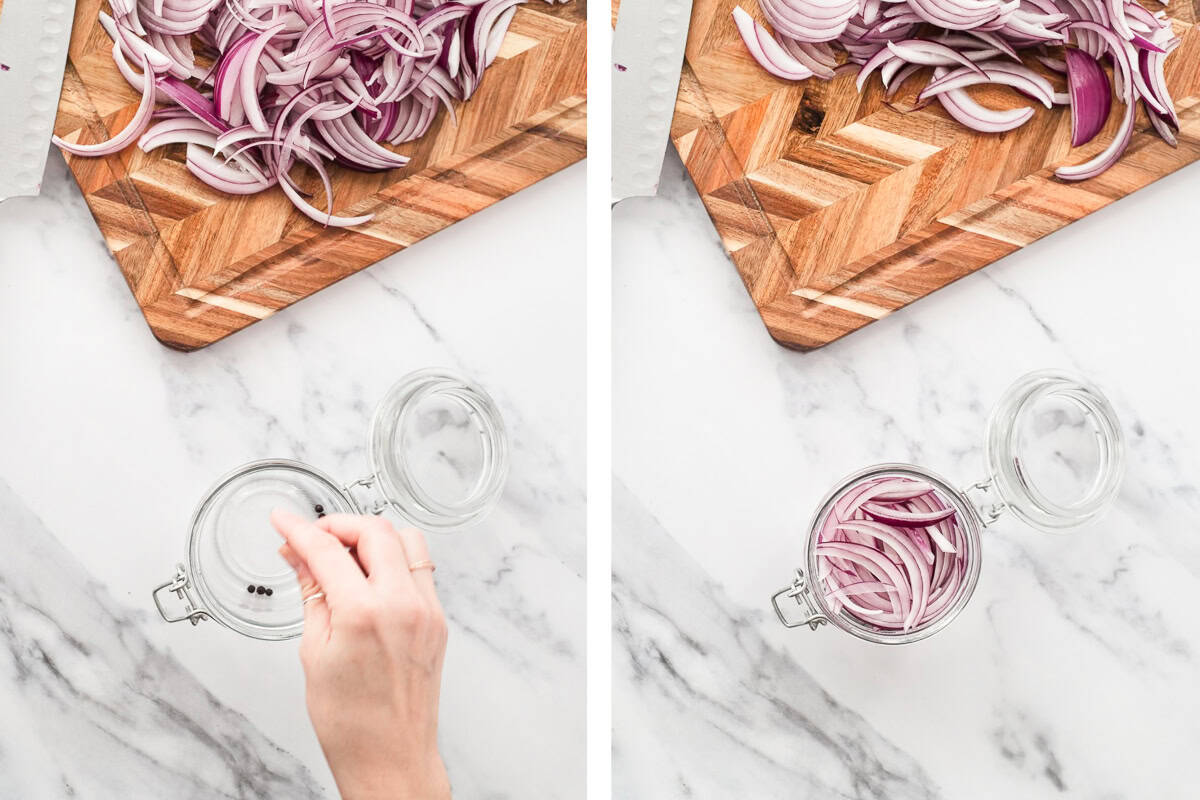
Keep filling the jar with onion slices until they reach about half an inch below the rim to ensure the brine fully covers them.
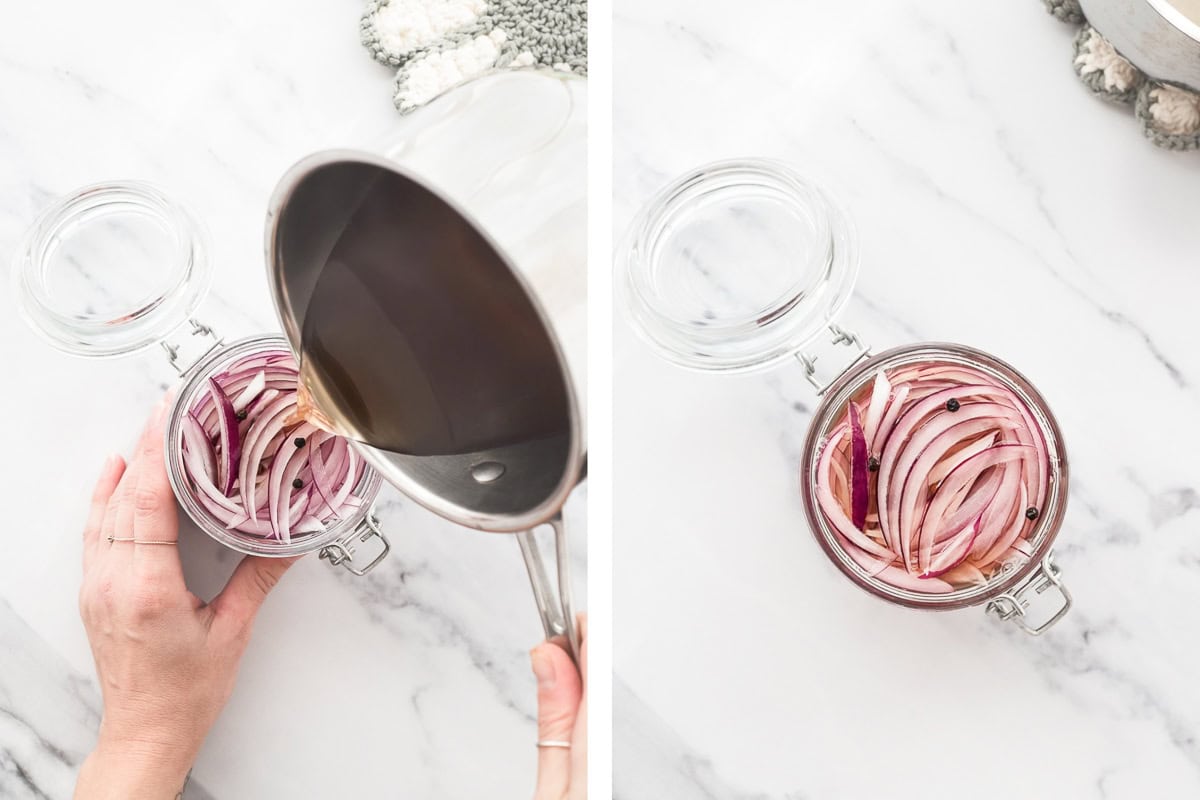
Pour the brine over the onions, making sure they are fully submerged. If any odds and ends are sticking out, use a spatula to gently press them down into the brine.
Step 3: Refrigerate
Once you've poured the brine over the onions, seal the jar tightly and let them sit at room temperature for 10 to 15 minutes before transferring them to the fridge.
Allow them to rest for at least 30 minutes before serving. They get even tastier the next day, so you can leave them overnight or up to 7 days for a bolder flavour.
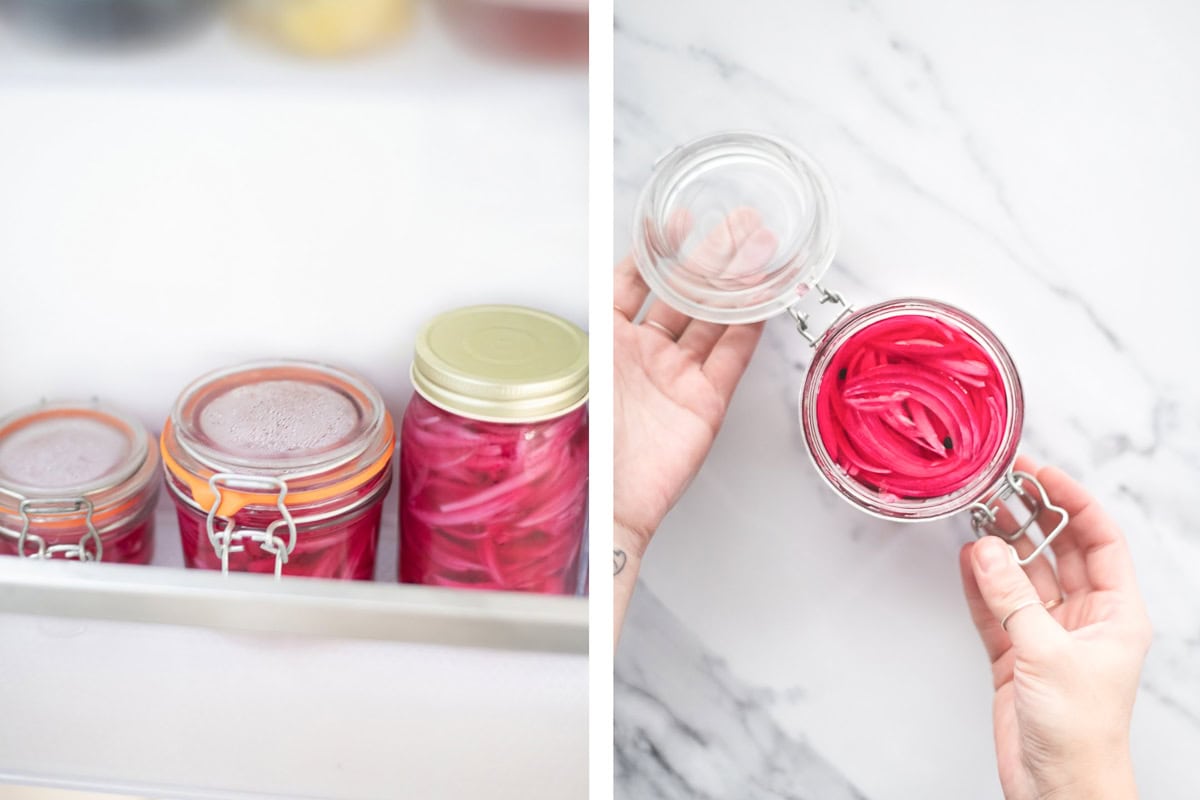
For the crispest crunch and the brightest flavour, I find they are best served within 2 to 24 hours.
Regardless, they will last up to 2 weeks in the fridge and still taste delicious!
My Top Tips
- Slice with the grain for the crunchiest pickled red onion. Slice against the grain (creating rings) for a softer texture, quicker marinating time and prettier presentation.
- Let the brine stand for a few minutes before pouring for the crunchiest pickled onions. Boiling-hot brine can soften the red onion slices.
- Add the peppercorns first, so they stay at the bottom of the jar and make serving easier.
Substitutions & Variations
White wine vinegar can replace the apple cider vinegar for a more neutral flavour that's still gentler than white vinegar. You could also use rice vinegar.
Maple syrup can be used instead of honey for a more neutral flavour and to make it vegan.
Garlic cloves can add another layer of flavour! 2 to 3 cloves are all you need for a 1-pint jar.
Other herbs & spices can be added to create unique flavourings. This recipe is simply a starting point!
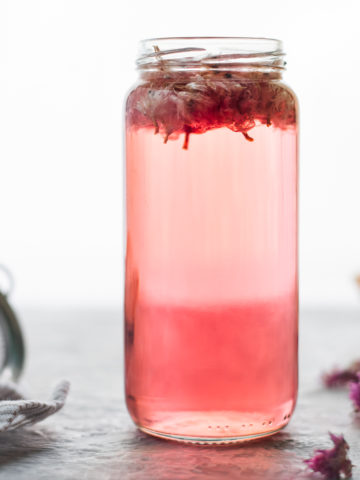
Chive blossom vinegar can gives these pickled red onions an extra garlicky kick.
Storing & Saving
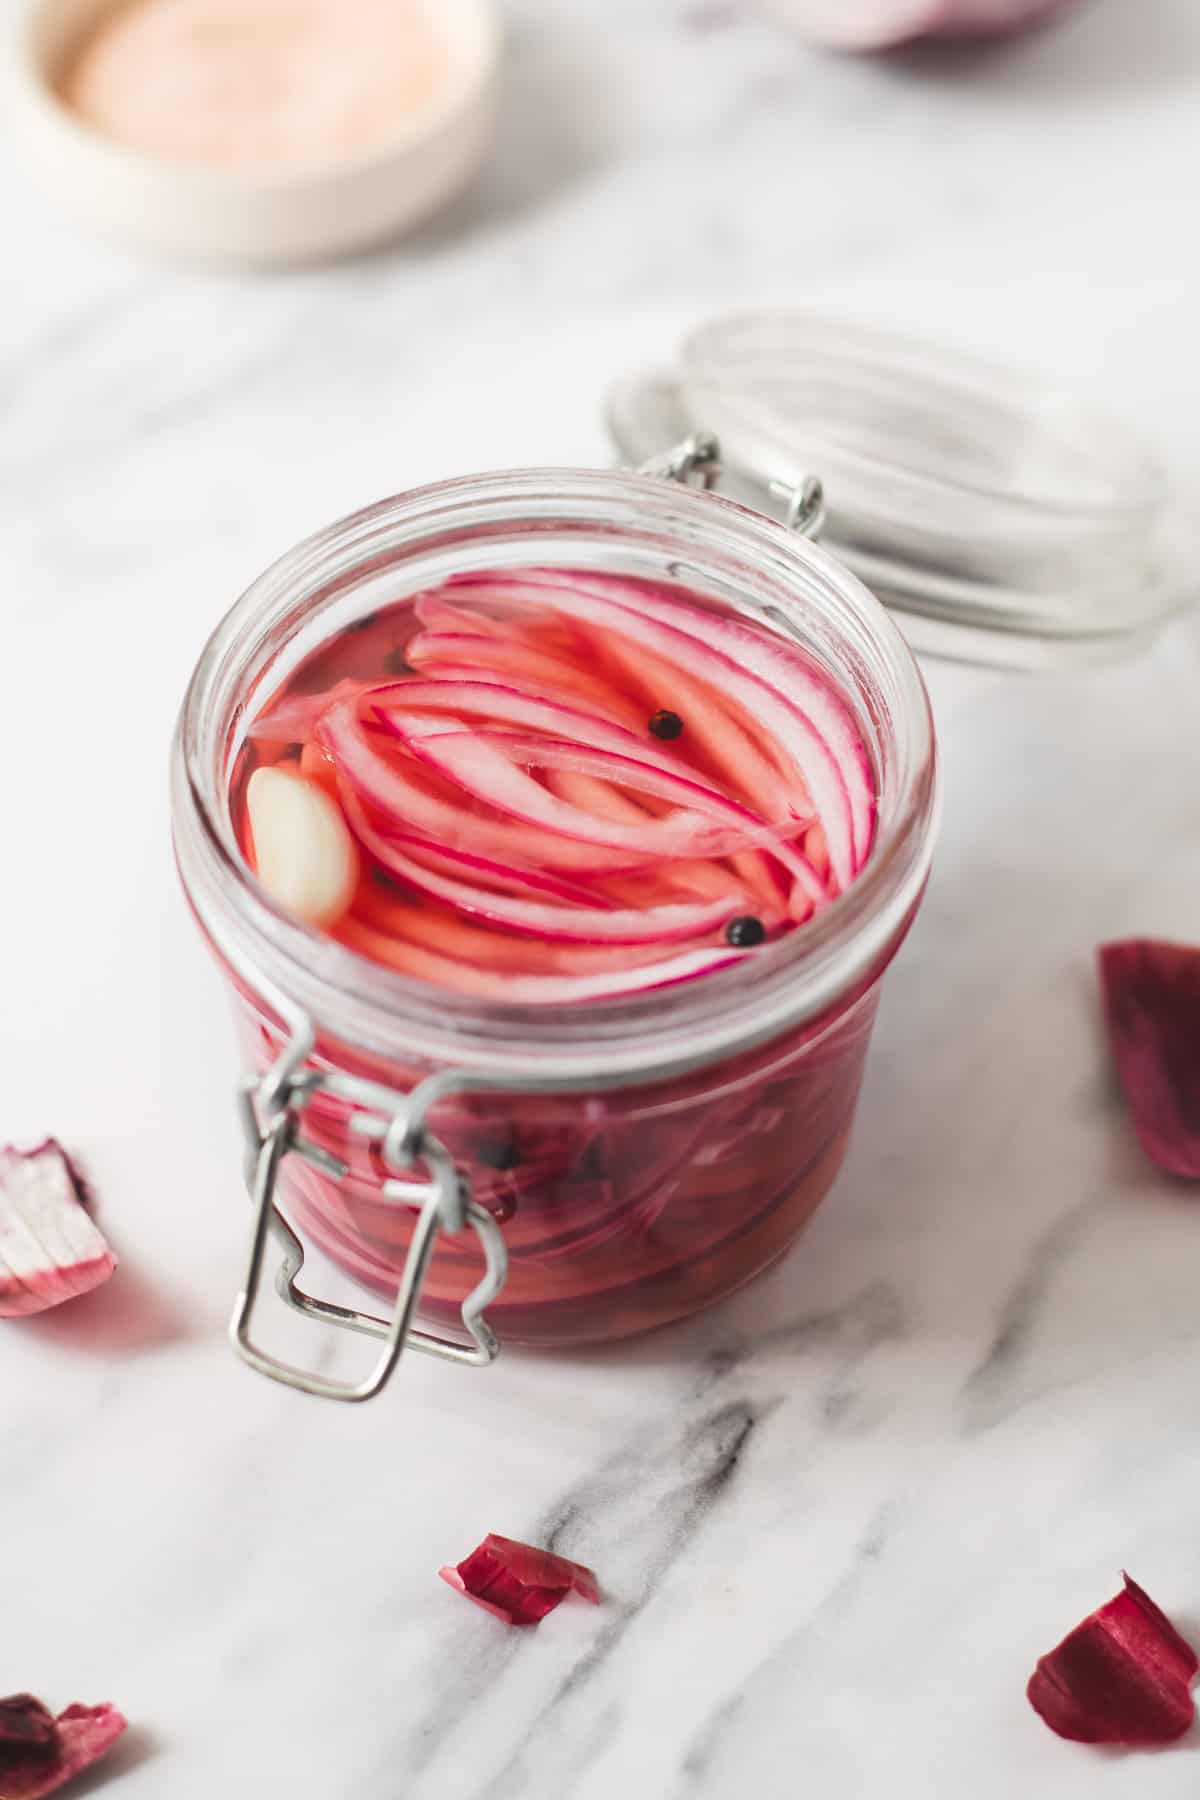
These are quick pickled onions (also known as refrigerator pickles). This means they are not meant for canning and must be refrigerated.
This also means they should be consumed fairly quickly. If properly sealed and refrigerated, they can last up to 2 weeks.
Since they make nearly any dish a little brighter, I tend to go through them in about 5 to 7 days. Thankfully, it's quick and easy enough to whip up a batch every week or two!
What to serve Pickled Red Onions With
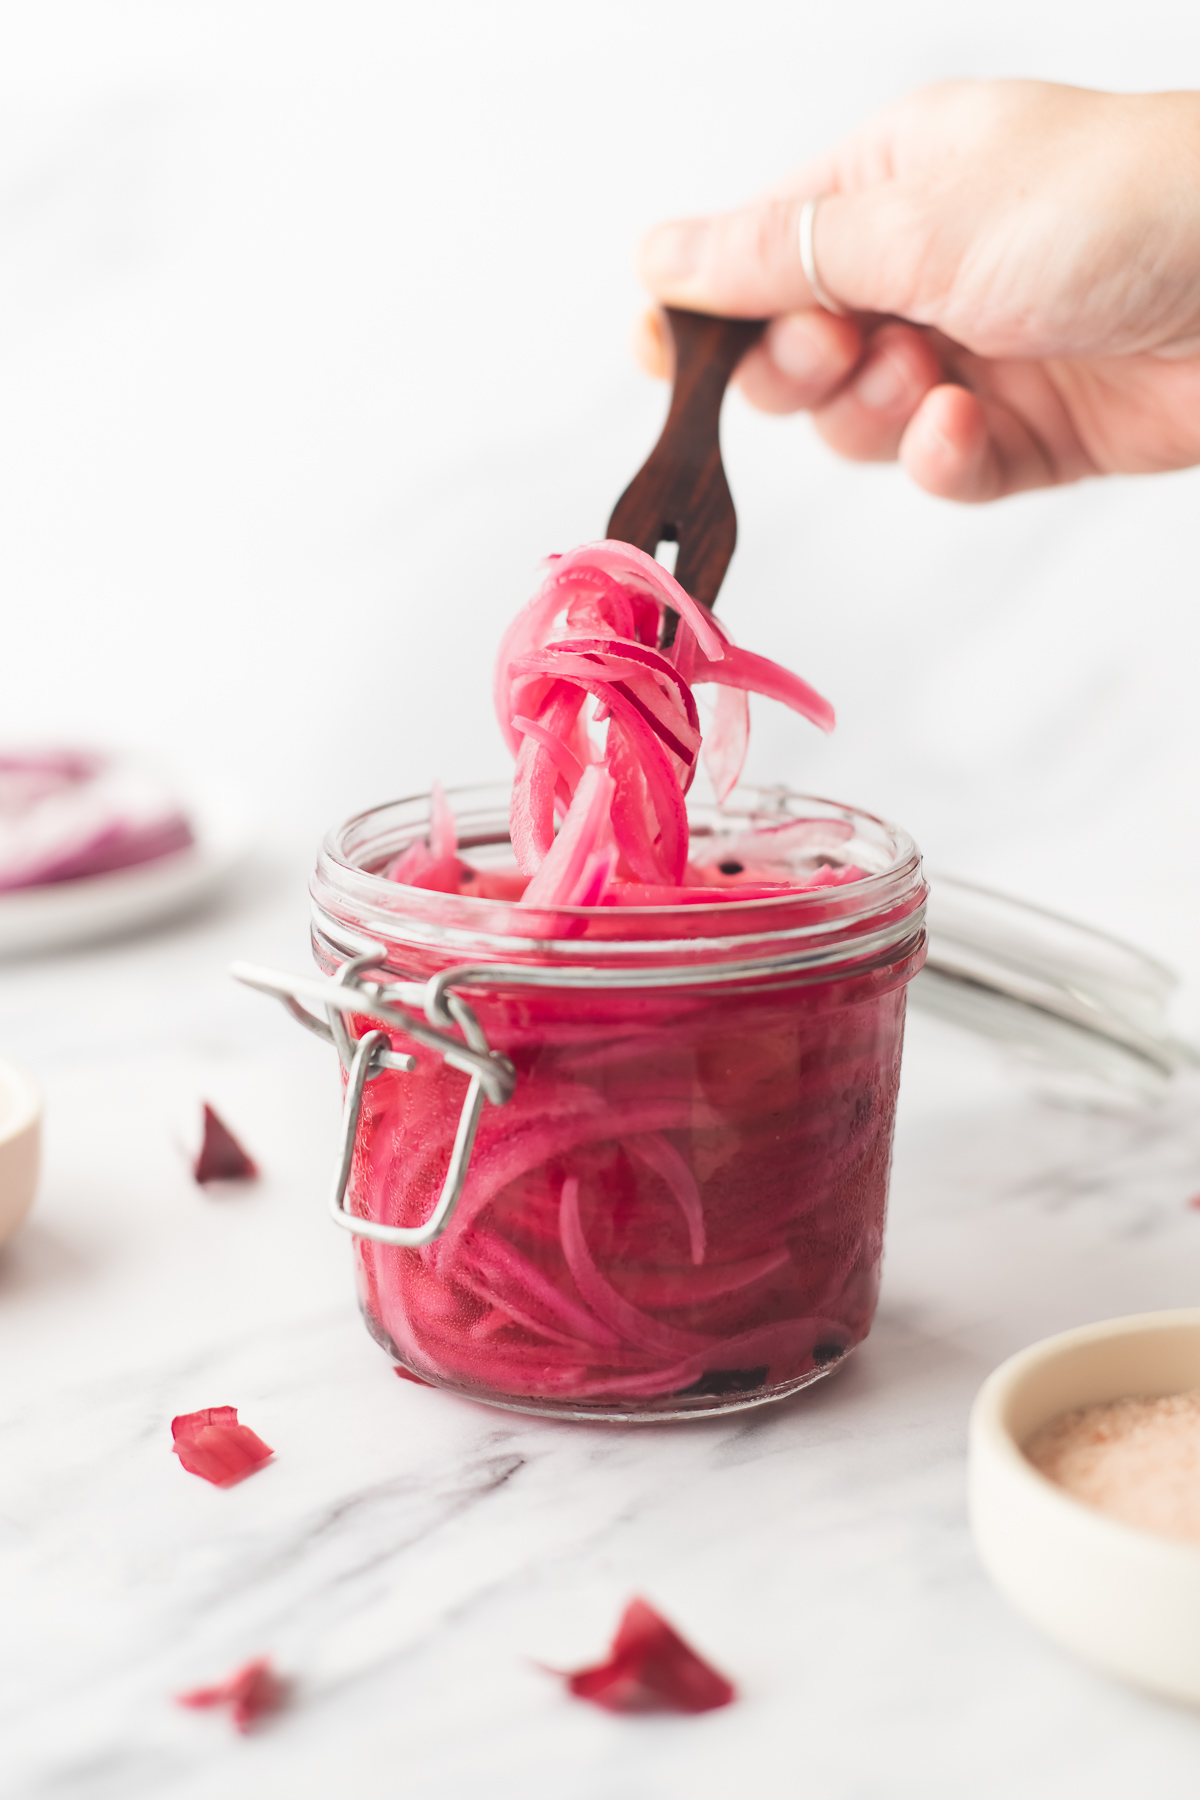
I don't think I have to mention again how much better pickled red onions make... almost everything.
They take burgers, sandwiches and tacos to the next level. They add a delicious crunch to salads, nourish bowls or avocado toast. They can be topped on flatbread, pizza and crackers. Plus, they're a great garnish to serve at potlucks, picnics, and BBQs.
FAQs
Apple cider vinegar gives pickled red onions a fruitier and slightly more sour flavour. If you prefer a more neutral flavour, you can use white wine vinegar or rice vinegar instead.
It can depend on the type of honey used. I typically use wildflower honey, which I find adds subtle earthy and floral notes. If you prefer a more neutral flavour, you can use pure maple syrup instead.
Yes! I have cooked and heated pickled red onion plenty of times. I love adding it to homemade pizza, quesadillas and casseroles.
Recipe Highlights
Simple to make. These pickled red onions only take a handful of ingredients and 10 minutes or less of hands-on time. Plus, they can be ready to serve in 30 minutes!
Versatile. This recipe is just a starting point! Swap ingredients to suit your needs, or add spices and herbs to create different flavours.
Healthy and delicious. These pickled red onions aren't just a condiment that can elevate your dishes; they're rich in nutrients and made with clean, gut-loving ingredients.
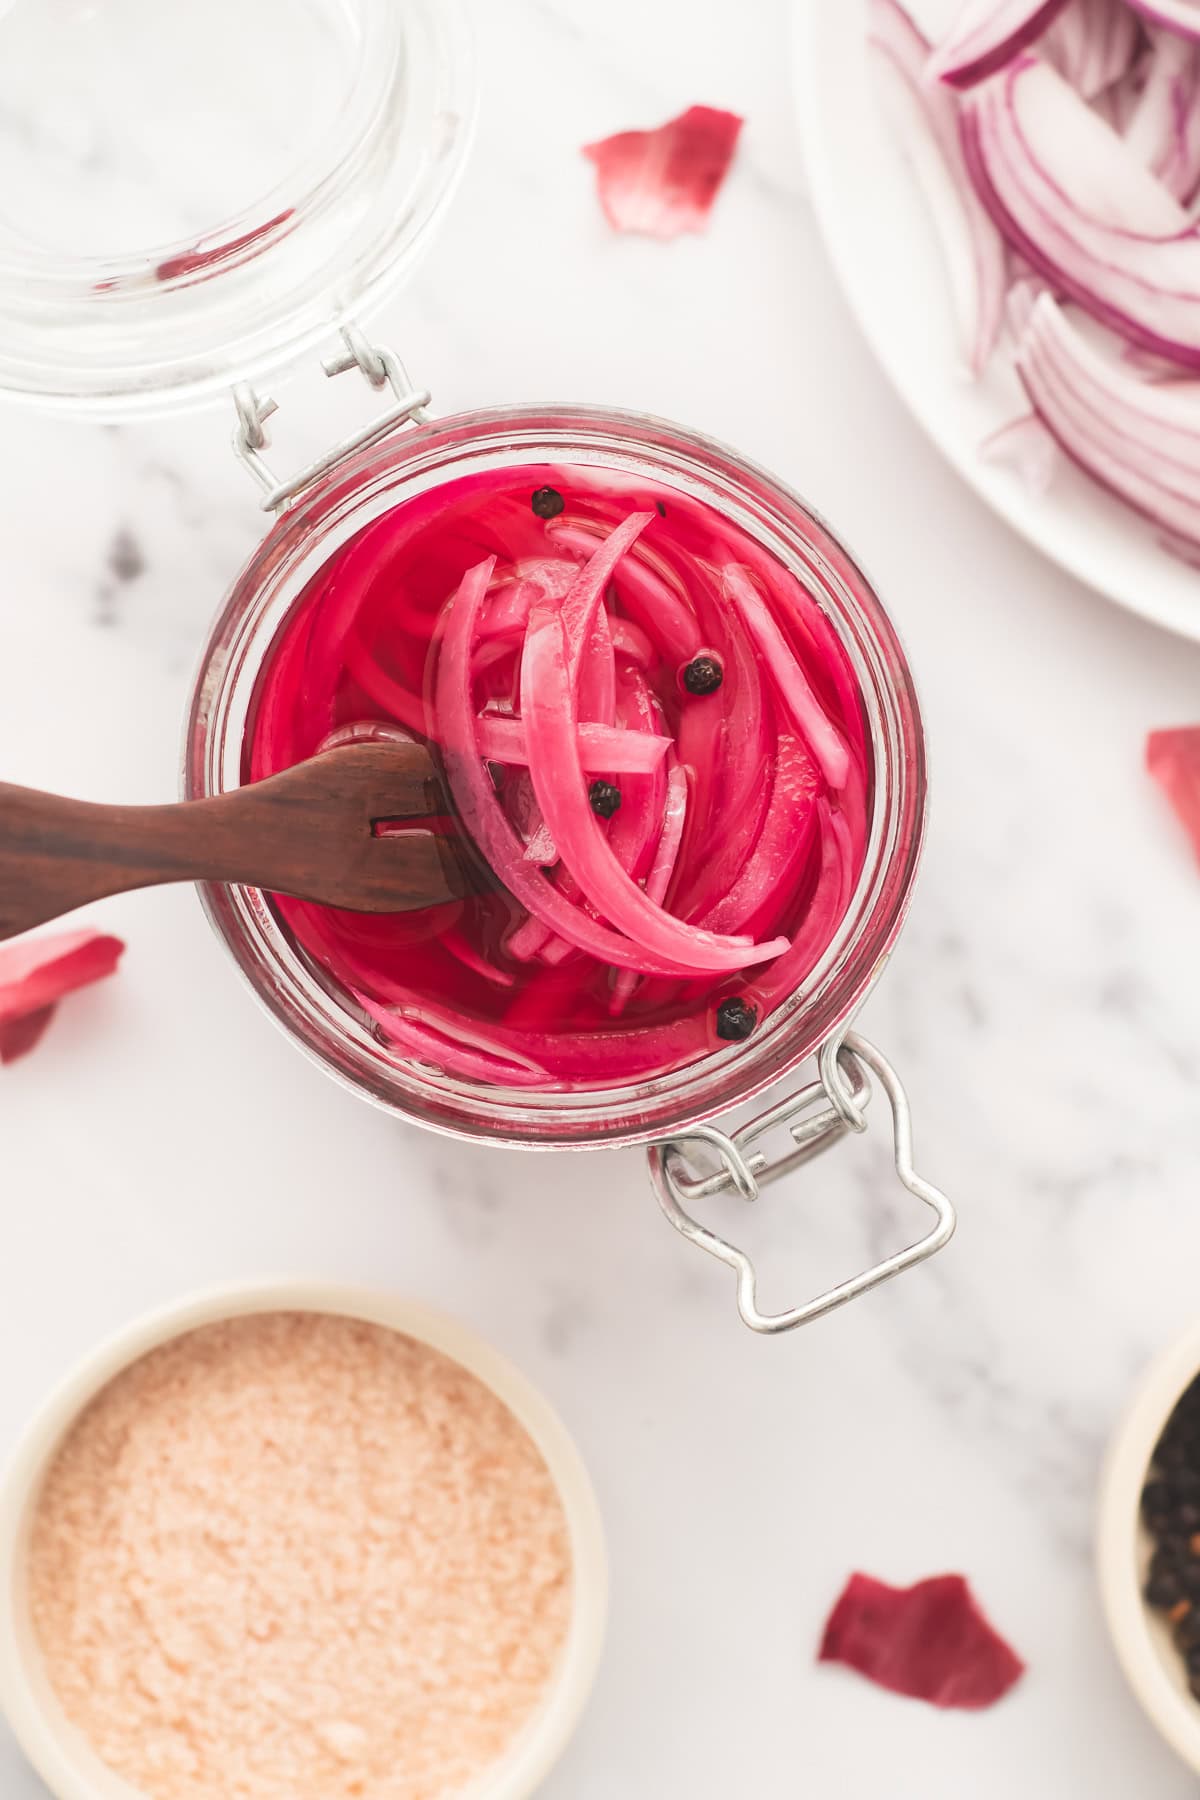
Crunchy Pickled Red Onions (with ACV and Honey)
Print RecipeEquipment
- Clean Glass Jar (1 Pint or 2 half Pints)
- Stovetop
- Saucepan
- Knife or Mandolin
Ingredients
- 1 medium Red onion (about 200g, chopped)
- ½ cup Apple cider vinegar (with Mother)
- 1 cup Filtered water
- 1 teaspoon Honey (or Pure Maple Syrup)
- 1 teaspoon Unrefined salt
- 4 - 5 Whole Peppercorns
Instructions
- First, combine the water, apple cider vinegar, honey and salt in a small saucepan. Place over medium-low heat and stir occasionally until the salt has mostly dissolved. Unrefined salt typically doesn't fully dissolve, so it's normal to still see some granules at the bottom. Once the brine begins to bubble, remove it from the heat and let it stand until you're ready to pour it over the onions.
- After many, many batches of pickled red onions, I've come to realize the way you slice matters!Slicing against the grain to make thin rings can make a stunning presentation. They also absorb the brine faster, so you can serve them sooner. This method has a couple of downsides, though. First, they don't stay as crisp and crunchy (though that could be an upside depending on your preference). Second, without a mandoline, it's far too tedious to get nice, even slices.Cutting with the grain holds a crunchier texture and makes it much easier to get even slices with just a knife.Starting from the bottom edge, slice the onion along the grain. Continue slicing until the onion half starts to get wobbly (usually around the halfway point). Flip the onion down to stabilize it, then continue slicing along the grain.Repeat this process with the other onion half.
- First, drop the peppercorns into a clean pint jar or split them into two half-pint jars. You can also add any extra herbs or spices (like garlic and dill) at this time.With clean hands, pack the onion slices into the jar as evenly as possible. Gently press the onion down as you fill the jar to avoid large gaps.Keep filling the jar with onion slices until they reach about half an inch below the rim to ensure the brine fully covers them.Pour the brine over the onions, making sure they are fully submerged. If any odds and ends are sticking out, use a spatula to gently press them down into the brine.
- Once you've poured the brine over the onions, seal the jar tightly and let them sit at room temperature for 10 to 15 minutes before transferring them to the fridge. Allow them to rest for at least 30 minutes before serving. They get even tastier the next day, so you can leave them overnight or up to 7 days for a bolder flavour.For the crispest crunch and the brightest flavour, I find they are best served within 2 to 24 hours.Regardless, they will last up to 2 weeks in the fridge and still taste delicious!
Notes
- Slice with the grain for the crunchiest pickled red onion. Slice against the grain (creating rings) for a softer texture, quicker marinating time and prettier presentation.
- Let the brine stand for a few minutes before pouring for the crunchiest pickled onions. Boiling-hot brine can soften the red onion slices.
- Add the peppercorns first, so they stay at the bottom of the jar and make serving easier.
Nutrition
The information provided on this website is for informational purposes only. It does not constitute, nor should it replace, individual clinical advice or professional diagnosis and treatment. Please see my full disclaimer here.
Rate this Recipe & Share How it Turned Out!