
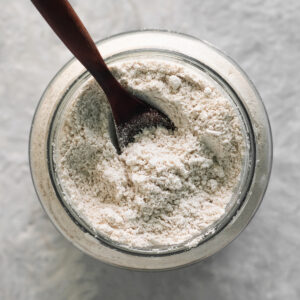
Learn how to make Homemade Oat Flour in a blender! There's no need for a flour mill or any fancy equipment. Plus, it's quick, cost-effective and more nutrient-dense than store-bought.
*Nutrition Disclaimer: The information provided on this site is designed for educational purposes only. You should not rely on this information as a substitute for, nor does it replace professional medical advice, diagnosis, or treatment. Please read mydisclaimers page for more information.
If you've ever wondered if you could just blend your rolled or quick oats into flour, you guessed right!
Making Homemade Oat Flour really is that simple. In fact, I don't think I've ever purchased oat flour because it's more convenient to simply blend up some oats that I already have on hand.
Why Homemade Oat Flour is Better
It's more flavourful. Oat flour offers a delicious flavour that's mildly sweet with toasted, nutty and caramel-like notes. This flavour is richest when it's freshly ground, giving baked goods like homemade graham crackers a richer flavour profile.
It's quick and practically effortless. Making oat flour takes barely any time at all! It zips up and is ready to use in just a minute. In fact, making Oat Flour at home has saved me from running out to the store plenty of times.
It's more cost-effective. Oat flour can be significantly more expensive to purchase than old-fashioned, quick oats and groats. It's also more cost-effective to buy oats in bulk rather than multiple smaller bags of each. Plus, you can blend what you need, so there's no letting large bags go to waste.
It's richer in nutrients. Freshly ground oats are far more nutritious than store-bought flour that has been sitting on a shelf for who knows how long. The longer flour sits on a shelf, the more oxygen, heat and light it is exposed to. All of which can destroy beneficial nutrients. And even worse, turn fatty acids rancid. Even if you make your own oat flour to store, at least you know exactly when it was made.
Is Oat Flour Healthy?
Oat flour is rich in fibre, protein, vitamins, and minerals, making it a healthy addition or alternative to other flours. When made with certified gluten-free oats, it can also be a great gluten-free option.
Health Benefits
Fibre-rich. If you're looking to add more fibre to your diet, using oat flour can be a great option! It's particularly rich in the soluble fibre beta-glucan, which is beneficial for heart health and blood sugar regulation.
Rich in vitamins and minerals. Oats are a great source of many vitamins and minerals, including magnesium, selenium, iron, vitamin K, silica and folate.
Gluten-Free. When using certified gluten-free oats, Oat Flour makes a delicious and nutritious alternative to wheat flour.
Restorative Properties. Oats have long been used in many cultures and traditional healing practices for their restorative properties, which can contribute to the health of the reproductive, nervous, and digestive systems. They can also be beneficial to connective tissue and bone health.
Seasonal Benefits
Spring and summer are great seasons to utilize the energy-building properties of oats, which can help us power through the more active seasons.
Autumn and winter are ideal seasons to reap the warming properties of oats. They can help to circulate warmth throughout the body while expelling cold and dampness.
How to Make Homemade Oat Flour
All you need to make Homemade Oat Flour is oats and a blender or food processor! Follow the steps below or watch the video.
What You Will Need
Equipment
- Blender to turn oats into a fine flour. A food processor will also work.
- Measuring cup for accuracy in yielding a specific amount of flour.
Ingredients
- Oats are the only ingredient required to make homemade oat flour. You can use quick-cooking, rolled, or groats.
What Type of Oats to Use for Oat Flour
Quick-cooking oats are the easiest to blend up. If your blender isn't high-powered, quick-cooking oats will probably be your best option if you're looking to make a fine flour.
Old-fashioned rolled oats blend up just as easily as quick oats if you have a high-powered blender. There isn't much of a difference, except rolled oats contain more fibre than quick-cooking oats.
Oat groats contain the most fibre. However, they tend to yield a rougher, grittier texture rather than a fine flour.
How to Calculate Oat-to-Flour Ratio
When blending rolled or quick oats into flour, some volume is lost. The general rule of thumb when making oat flour is that you will get about ¾ of the amount of oats used. Therefore, when using 2 - 5 cups of oats, you will typically lose about 1 cup.
For example, if you use 4 cups of oats, you will get about 3 cups of flour. If you blend a cup or less, you may lose around a quarter cup.
Other Factors to Consider
Blend time can affect the yield. The longer they are blended, the finer the flour will become. Finely ground flour will yield less volume than roughly ground flour. If you have a high-powered blender, about thirty seconds will produce medium-fine flour. If you continue to blend for a minute or longer, you will get super-fine flour.
The type of oats can also affect the yield. Since quick oats are already partially ground, they don't require as much time to blend, resulting in less volume loss compared to rolled oats. On the other hand, oat groats produce a higher yield and can double in volume.
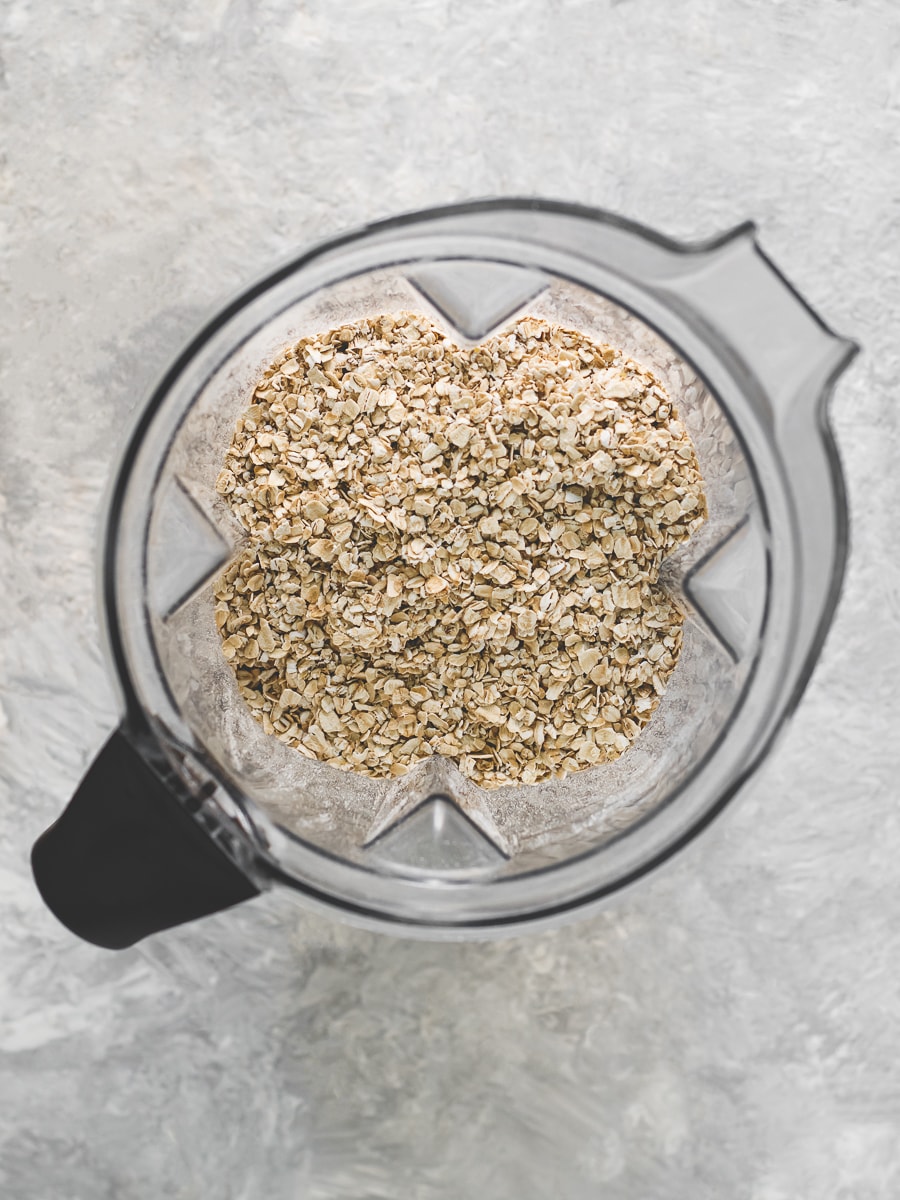
Step 1:Measure
First, measure out the oats according to your desired yield. For a single batch of this recipe, 4 cups of rolled or quick oats will yield 3 cups of flour.
Next, pour the oats into the jug of your blender or food processor.
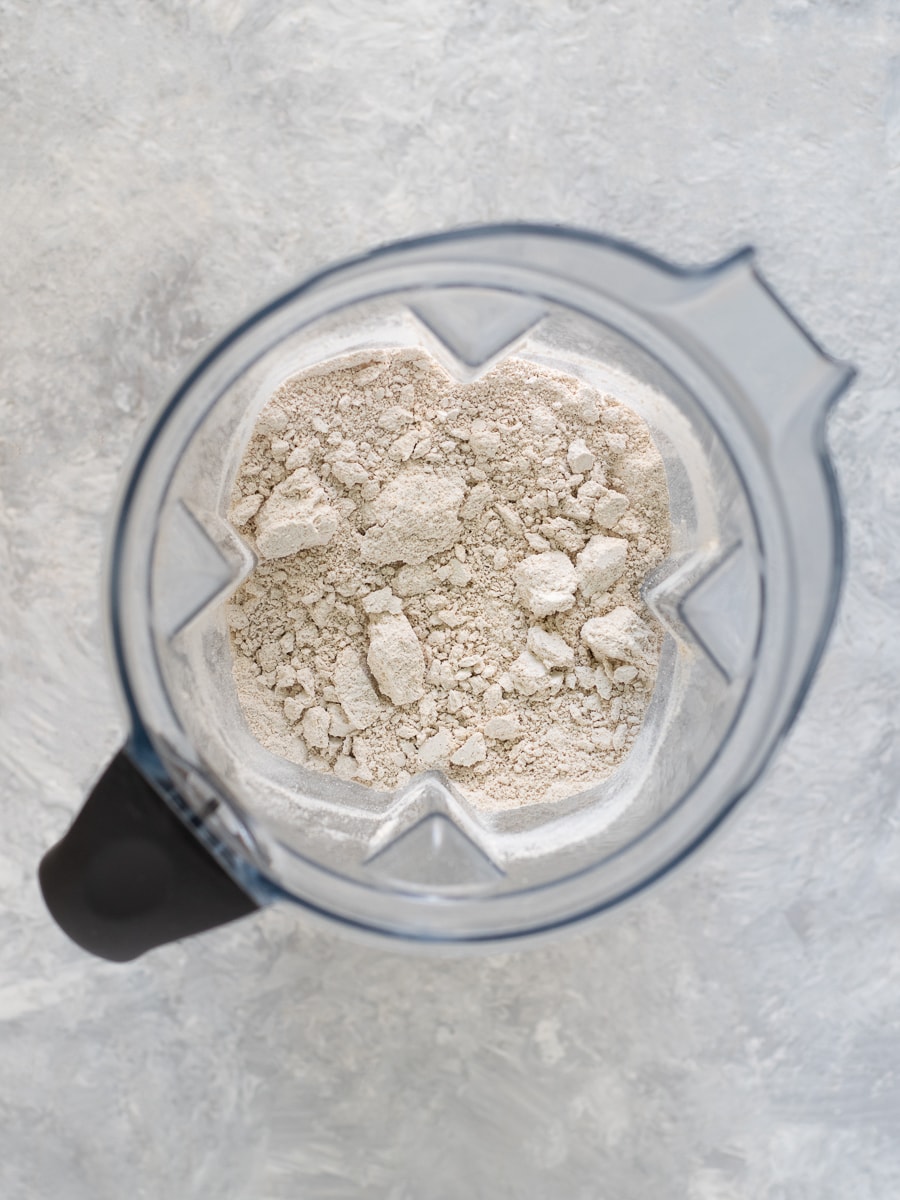
Step 2: Blend
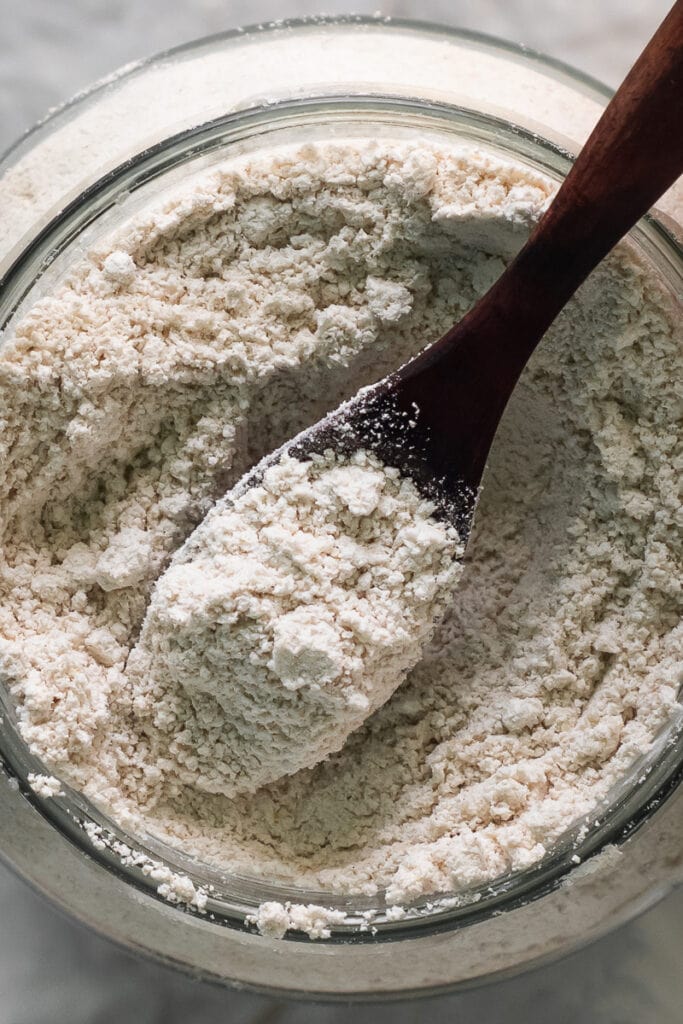
Secure the blender lid and blend the oats on a low-medium speed until they have turned into a fine flour. If there are any remaining oat flakes, shake and repeat. The longer they are blended, the finer the flour will become.
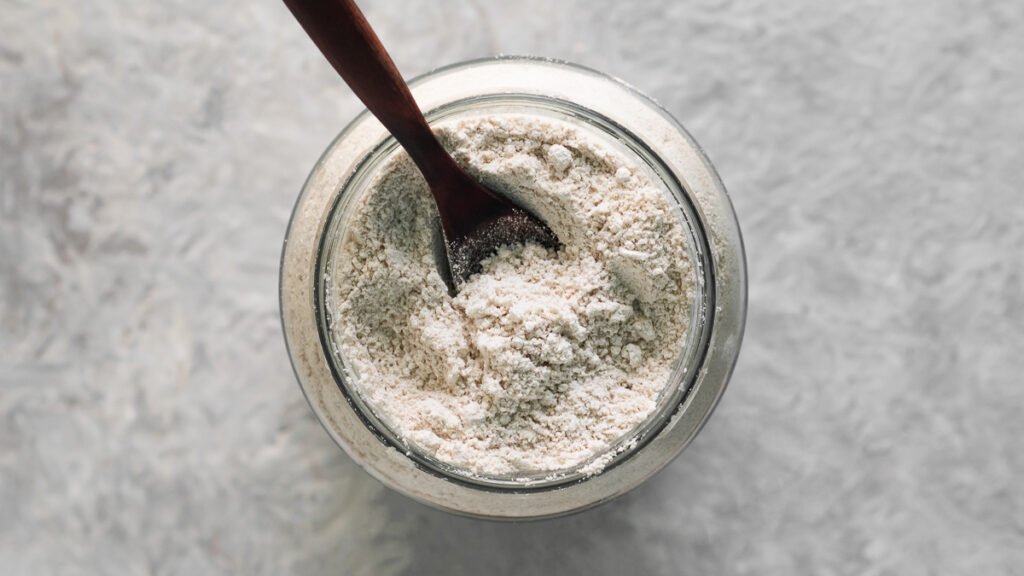
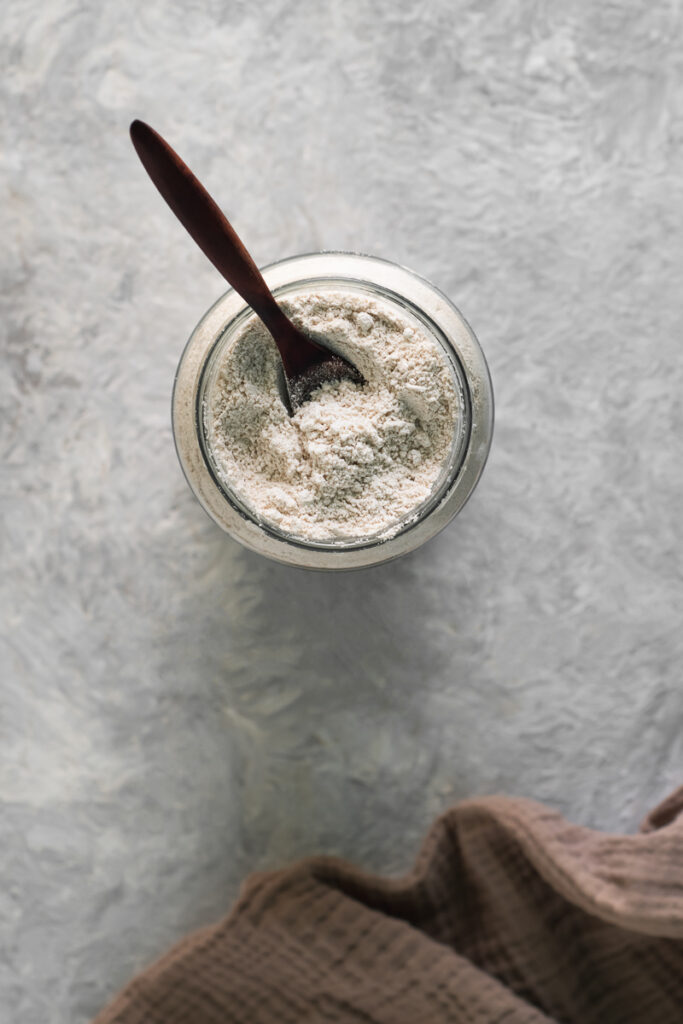
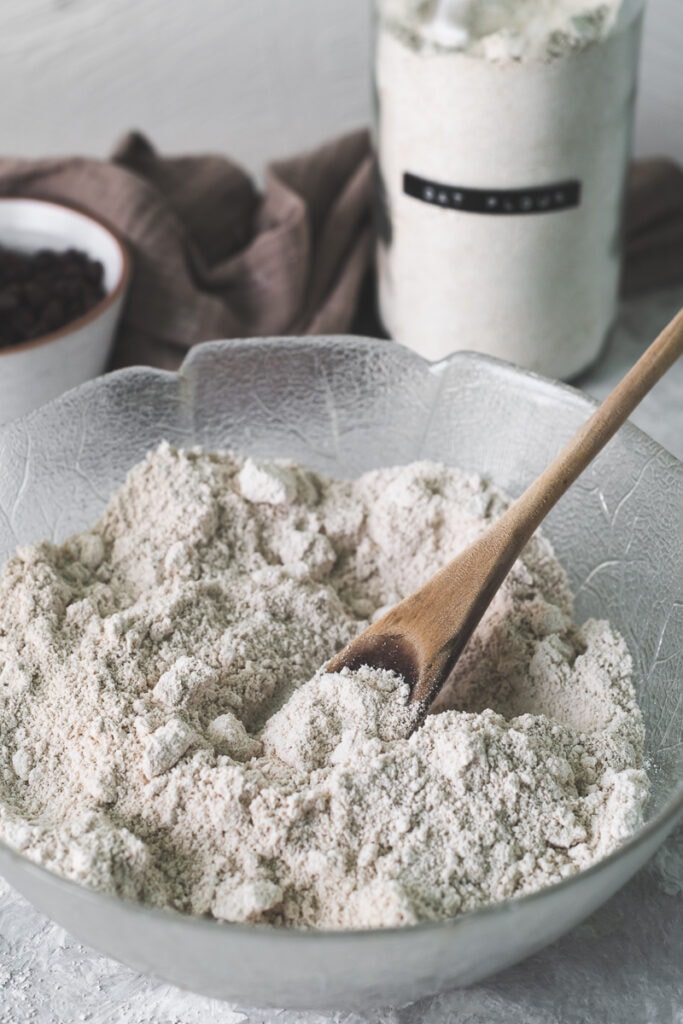
Turn the blender off and use a spatula to guide the flour out of the jug and into a bowl or jar. Scrape any flour that is stuck to the edges of the blender or under the blades.
You can use your flour right away or store it for later use and convenience.
My Top Tips
- Use organic oats to avoid harmful pesticides and herbicides.
- Use certified gluten-free oats if you have celiac disease or are sensitive to gluten or wheat.
- For the most nutritional value, blend your Oat Flour as needed to use it fresh.
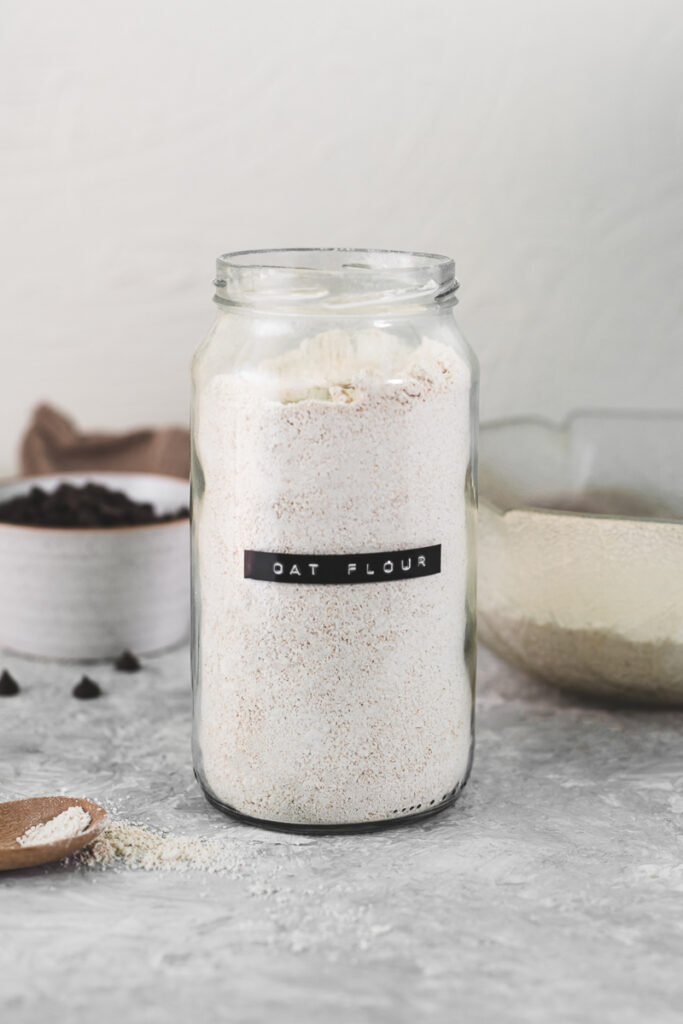
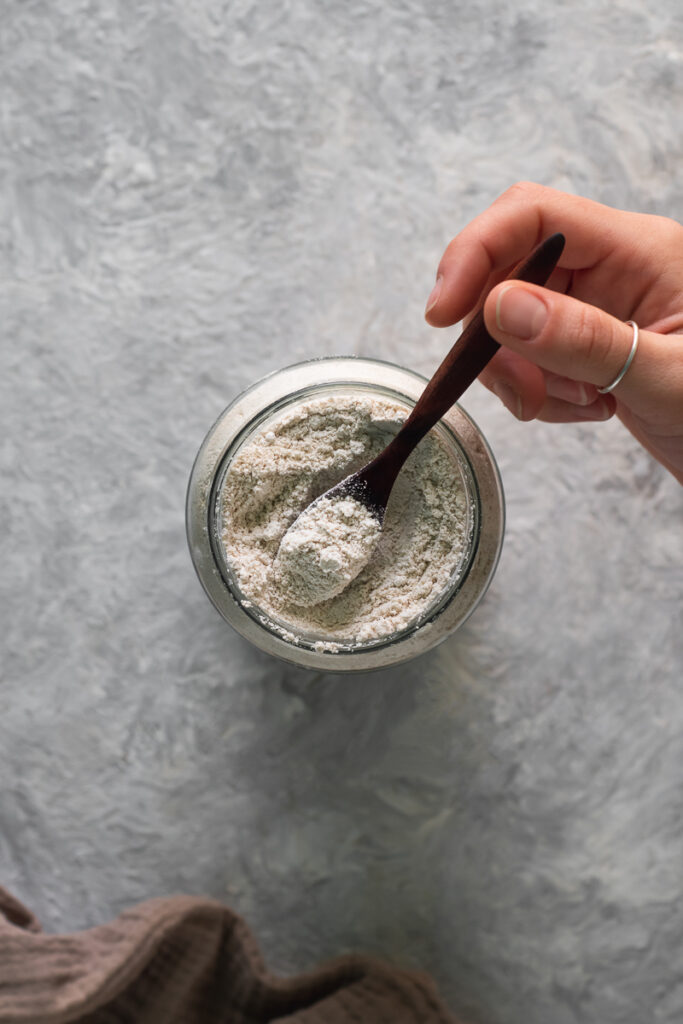
How to Store Homemade Oat Flour
To store Homemade Oat Flour, seal it in an airtight container to prevent exposure to air, moisture and bugs and keep it in a cool, dark and dry pantry or cupboard.
For the best flavour and freshness, keep it in a glass jar or container as plastic can leach unwanted flavours and toxins.
How Long Does Homemade Oat Flour Last?
If sealed in an airtight container and stored in a cool, dry and dark place, Homemade Oat Flour can last up to 3 months. It can also be stored for up to 6 months in the freezer if placed in a freezer-safe container.
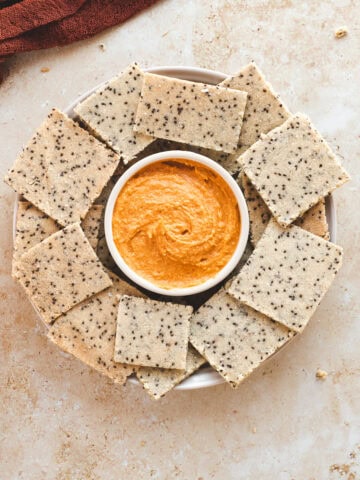
What to Make with Homemade Oat Flour
Oat Flour is a versatile ingredient that can be used in both sweet and savoury recipes.
Its natural sweetness and caramel-like undertones complement sweet flavours like vanilla, cinnamon, ginger, chocolate, fruit, maple syrup and honey.
This makes it a delicious addition to pancakes and baked goods, such as cookies, cakes, muffins, and sweet bread. It also makes the most delicious homemade graham crackers!
Its mild toasty, nutty notes also pair well with herbs and savoury spices. This can add a yummy touch to gravies, savoury crackers and bread. It can also be used a homemade breading for nuggets, chicken or fish.
FAQs
Oat flour can be a great replacement for wheat flour. However, since it is non-glutenous, some adjustments may need to be made. For recipes that depend on the elastic proteins of gluten for structure, such as bread, additional binding and rising agents, like eggs, baking powder, and starches, may need to be added.
Oat flour can work much better as a 1:1 replacement for recipes that don't rely on the gluten proteins for structure, such as crackers, cookies, pancakes and brownies.
Since oat flour is a non-glutenous grain, even with yeast, it still will not rise as well as wheat and other glutenous flours, such as spelt and kamut. Adding extra leavening and binding agents, such as baking powder and eggs, can help, but oat flour will still result in a denser texture.
Generally, yes! Oat flour and almond flour can be interchangeable at a 1:1 ratio. They do have different flavour profiles and slightly different textures. Almond flour also has a higher fat content than oat flour, which can affect the final results of certain recipes.
Recipe Highlights
Fibre-rich. Oat Flour is rich in soluble fibre that is beneficial for heart health and blood sugar regulation.
Nutrient-rich. Freshly ground Oat Flour is richer in nutrients that can deteriorate over time due to exposure to light, air and heat.
Quick and easy. Making Homemade Oat Flour requires only one ingredient and a minute or two of time.
Budget-friendly. Homemade Oat Flour is more cost-effective since you can simply blend the amount you need when you need it.
More Easy DIY Recipes
If you make this Easy Homemade Blender Oat Flour, let me know how it turns out by leaving a comment and rating below. Also, make sure you're following along on Pinterest, Instagram, Facebook and Flipboard for more wildly nutritious recipes!
How to Make Homemade Oat Flour in A Blender
Print RecipeEquipment
- Blender
Ingredients
- 4 cups Rolled Oats (Or Quick)
Instructions
- First, measure out the oats according to your desired yield. For a single batch of this recipe, 4 cups of rolled or quick oats will yield 3 cups of flour. Next, pour the oats into the jug of your blender or food processor.
- Secure the blender lid and blend the oats on a low-medium speed until they have turned into a fine flour. If there are any remaining oat flakes, shake and repeat. The longer they are blended, the finer the flour will become.Turn the blender off and use a spatula to guide the flour out of the jug and into a bowl or jar. Scrape any flour that is stuck to the edges of the blender or under the blades. You can use your flour right away, or store it for convenience!
Rate this Recipe & Share How it Turned Out!