
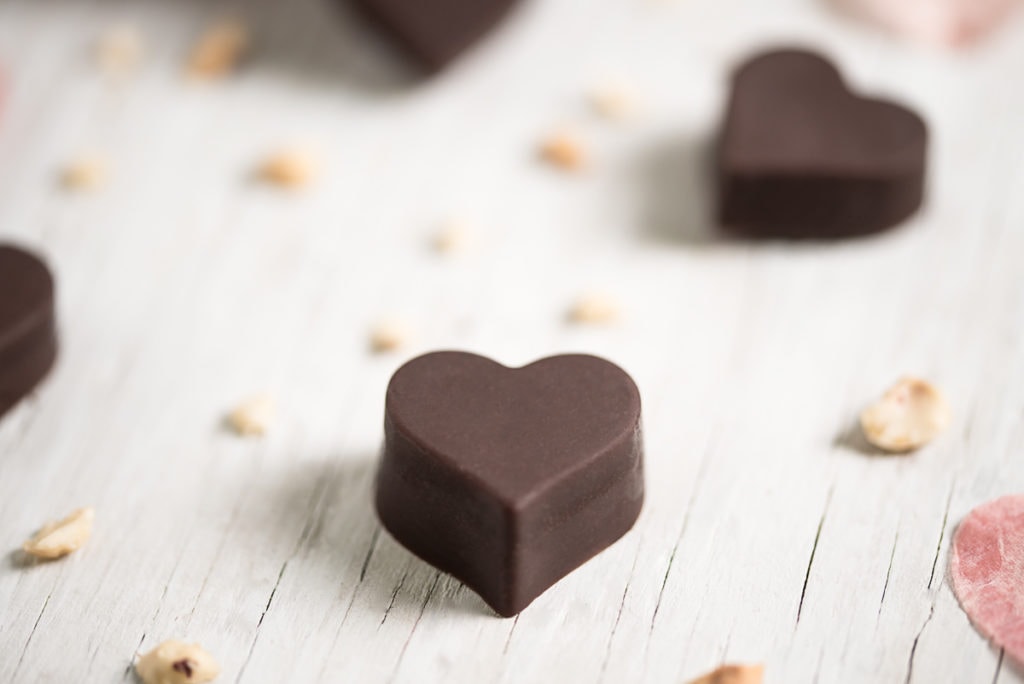
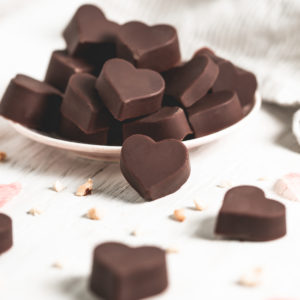
With a homemade dark chocolate coating and a creamy filling, these Healthy Chocolate Hazelnut Truffles are a delectable dessert that's perfect for Valentine's Day, date night, Mother's Day and tea parties.
*Nutrition Disclaimer: The information provided on this site is designed for educational purposes only. You should not rely on this information as a substitute for, nor does it replace professional medical advice, diagnosis, or treatment. Please read mydisclaimers page for more information.
These yummy Homemade Chocolates are free of refined sugar, dairy and gluten, making them suitable for many diets and sensitivities.
Chocolate has always been my biggest weakness, and at a time when I couldn't tolerate any sweetener except raw honey, I went on a mission to learn how to make my own chocolate from scratch!
Over the years, as I've healed my gut and honed my cholatiering craft, I began experimenting with different natural sweeteners. These Chocolate Hazelnut Hearts are maple syrup sweetened, making them suitable for those on plant-based and vegan diets.
Is Hazelnut Chocolate Healthy?
While these Hazelnut Chocolates are still a sweet treat that should be enjoyed in moderation, they are made from scratch with real food ingredients and no refined sugar.
This means they are a healthier option than heavily sweetened and artificially flavoured chocolate. They are also dairy-free, making them suitable for those with dairy and lactose intolerances.
Health Benefits
Antioxidant-rich. Cacao powder and cacao butter are less processed than cocoa, making it an even richer source of antioxidants that can protect against, cell damage, heart disease and inflammation.
Heart-healthy. Cacao butter, unrefined coconut oil and hazelnuts are all great sources of healthy fats that can help lower LDL (bad cholesterol). The flavonoids in cacao powder are a powerful group of antioxidants that help to protect the heart. Plus, hazelnuts are a rich source of the amino acid arginine, which can help to lower blood pressure.
Rich in vitamins and minerals. Hazelnuts are a great source of nutrients including vitamin E, folate, magnesium, potassium and zinc.
How to Make Chocolate Hazelnut Truffles from Scratch
Made with real hazelnuts, unrefined cacao powder, cacao butter, and naturally sweetened with pure maple syrup, these Healthy Hazelnut Truffles are a labour of love that are well worth the time.
What You Will Need
Equipment
- Double Broiler to melt the cacao butter without burning. You can also carefully melt it over very low heat with just one pot.
- Stovetop for melting the cacao butter.
- Oven to roast the hazelnuts.
- Baking sheet to hold the hazelnuts while roasting.
- Candy / Chocolate Moulds to set the chocolate truffles in. I like using heart-shaped. However, you can use any shape of your choice.
- Spoon or piping bag to fill the chocolate with the creamy hazelnut filling.
- High-Speed Blender to make the homemade creamy hazelnut filling.
Ingredients
- Raw unsalted hazelnuts are best, so you can roast them yourself to ensure they are free of harmful seed oils.
- Coconut milk adds a creamy, dairy-free texture to the hazelnut filling.
- Pure maple syrup sweetens both the outer chocolate coating and the creamy filling.
- Cacao powder is used to make the homemade dark chocolate coating as well as the chocolate hazelnut filling.
- Cacao butter is what hardens the outer chocolate coating.
- Unrefined coconut oil adds to the creamy texture of the filling.
- Pure vanilla extract adds an uplifting flavour that balances out the bitterness of the cacao.
- Natural mineral salt helps to bring out the sweetness and gives the creamy filling a Nutella-like flavour.
Step 1: Make Dark Chocolate Coating
First, melt the cacao butter in a double boiler. If you don't have a double boiler, you can carefully and slowly melt it in a small pot over very low heat. Whether using a double boiler or not, make sure to keep a close eye on it to avoid burning. Overheating can create a bitter flavour and destroy beneficial nutrients.
Once the cacao butter is melted, immediately remove it from the heat.
Next, stir in the cacao powder and maple syrup and mix until well combined. At this point, it should resemble melted chocolate.
Step 2: Set Bottom Layer of Chocolate
Using half of the melted chocolate coating, pour a thin layer into the candy or chocolate moulds to coat the bottom. This will be the bottom of the chocolate truffles. So, make sure to leave room in the moulds for the hazelnut filling and the top layer of the chocolate coating.
Place the candy mould into the freezer to let the bottom half of the truffles set. They will need at least 1 hour to harden.
Step 3: Roast Hazelnuts
Preheat your oven 350° F.
Spread the raw hazelnuts evenly on a baking sheet or in a roasting dish, making sure not to overcrowd them. A 9" x 13" baking sheet is big enough for a single batch of this recipe.
Then, place the hazelnuts in the oven roast for 15 - 20 minutes or until they begin to brown.
Once the hazelnuts are roasted, remove them from the oven and let them cool for a few minutes before handling. Don't cool them completely if your hazelnuts still have the skin intact. It is much easier to remove the skin while they are still warm.
To remove the hazelnut skins, place the roasted hazelnuts in a clean cloth (while still warm) and vigorously rub them together. Some bits of skin will remain, and that's okay! If you're using pre-skinned hazelnuts, skip this part of the step.
Once you're satisfied with your de-skinned hazelnuts, set them aside.
Step 4: Blend Creamy Hazelnut Filling
In a double boiler, melt the cacao butter and coconut oil over low heat. Again, if you do not have a double boiler, you can carefully and slowly melt it in a small pot over very low heat.
Once melted, immediately remove the cacao butter and coconut oil from the heat.
Place the roasted and de-skinned hazelnuts in a high-speed blender with the melted cacao butter, coconut oil, maple syrup, coconut milk, vanilla extract, cacao powder and Himalayan salt. Blend it all together until it turns into a smooth cream (you may need to scrape the sides down a few times).
Scoop your filling into a glass container and place it in the fridge until you're ready to use. You want it to be chilled so it doesn't melt the bottom layer of chocolate.
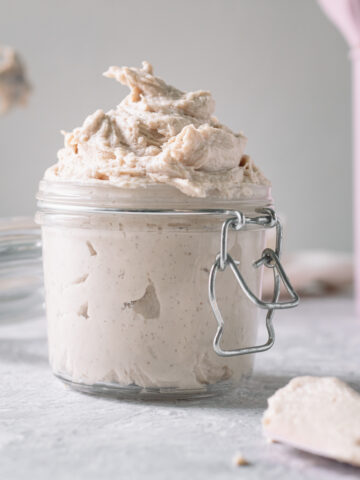
I should note that you will have much more chocolate hazelnut filling than needed for a single batch of these truffles. So, you can either make additional batches of the outer coating to make more truffles or use the remaining filling as a yummy chocolate hazelnut spread! It's like a healthy version of Nutella.
Step 5: Fill with Creamy Center
Once the bottom layer of your truffles have hardened, remove them from the freezer.
If using a piping bag, place a few scoops of the chilled hazelnut filling into the bag and squeeze a little dollop into each mould on top of the hardened chocolate.
If you don't have a piping bag, you can carefully use a spoon and small spatula to drop the hazelnut filling in each mould. You can also use parchment paper as a homemade piping bag. I found this video helpful to learn how.
Once each chocolate truffle bottom has a dollop of filling, return the mould tray to the freezer while you re-melt the remaining chocolate.
Step 6: Pour Top Layer of Chocolate
Once the remaining half of the chocolate coating has been remelted, remove the moulds from the freezer. Pour the melted chocolate into each mould, covering the hazelnut filling. Make sure to pour enough to fill up the moulds and completely cover the chocolate hazelnut filling.
Step 7: Freeze to Set
Place the moulds back into the freezer to let the top layer of chocolate set. Again, at least one hour should do it. However, if you've made larger truffles, they could take up to 4 hours.
Step 8: Remove from Moulds
Once the truffles have hardened, very carefully press the bottom of each mould and pop out each truffle.
It's best to store these Chocolate Hazelnut truffles in the fridge or freezer to avoid melting. If you store them in the freezer, they will last up to 6 months.
My Top Tips
Use a double boiler to prevent overheating the cacao butter and coconut oil. Also, make sure to use it when you a re-melting the chocolate coating to prevent burning.
Don't rush the chilling and setting to prevent the chocolate from melting when adding the hazelnut filling.
Use silicone moulds for easy removal of the truffles.
Substitutions & Variations
Use cacao paste or unsweetened baker's chocolate instead of cacao butter and powder to make the chocolate coating. You will still need to add the pure maple syrup and vanilla extract.
Use chocolate chips or chopped dark chocolate instead of making a homemade dark chocolate coating. All you will have to do is melt it. Do not add the maple syrup, as it will already be sweetened. You can still add the pure vanilla extract for a delicious, uplifting touch.
Raw honey can be used instead of pure maple syrup. Since it is thicker, I find it easiest to melt it with the cacao butter.
Storing & Saving
As mentioned above, it is best to keep these Hazelnut Truffles in the fridge or freezer to prevent melting. If well-sealed in an airtight container, they will last 2 - 3 weeks in the fridge and up to 6 months in the freezer.
Recipe Highlights
Refined Sugar Free. This recipe uses pure maple syrup as a sweetener, making these homemade chocolates free of heavily refined sugars.
Suitable for many diets. This recipe is naturally free of dairy, gluten and soy, making it friendly for those with intolerances and sensitivities.
Antioxidant Rich. Cacao is a rich source of powerful antioxidants that can protect against inflammation, heart disease and cell damage.
Great for special occasions or a DIY Gift. These homemade Truffles make a delectable treat for special occasions like Valentine's, anniversaries, Mother's Day and tea parties. They also make a delicious handmade edible gift!
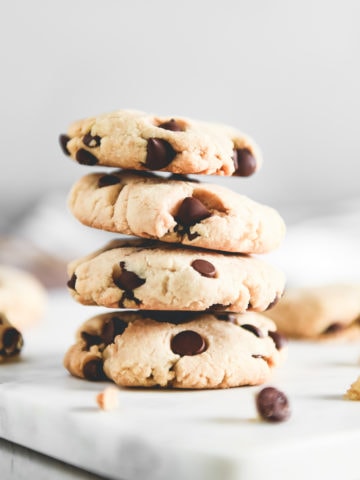
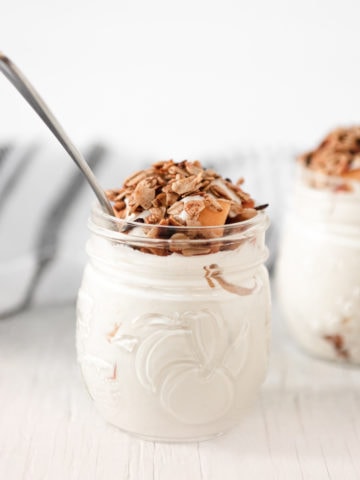
More Healthy Homemade Sweets
FAQs
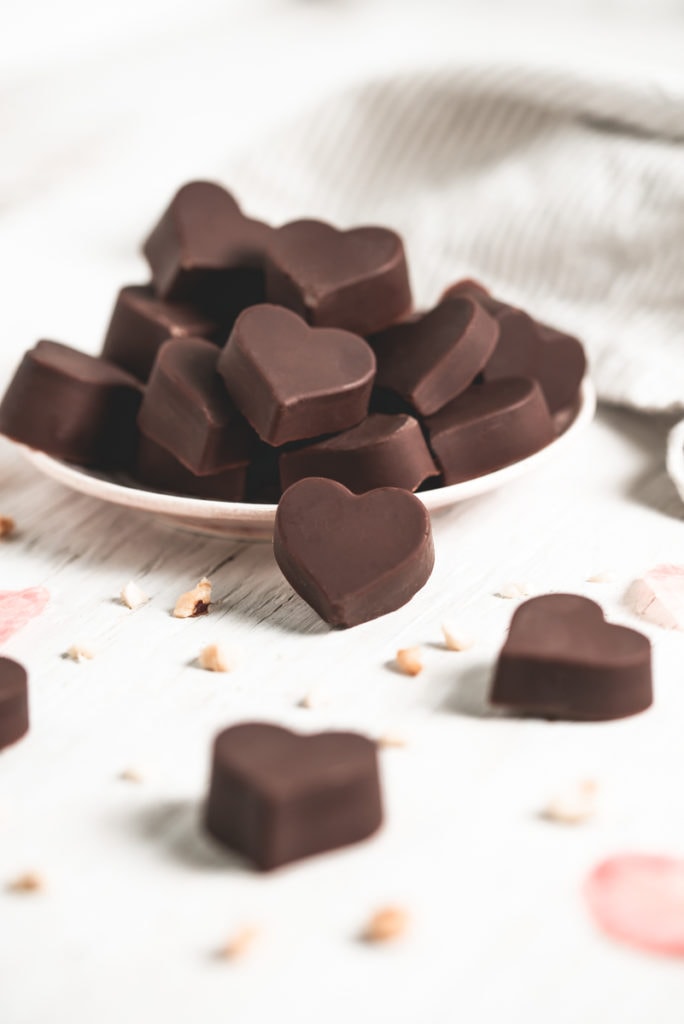
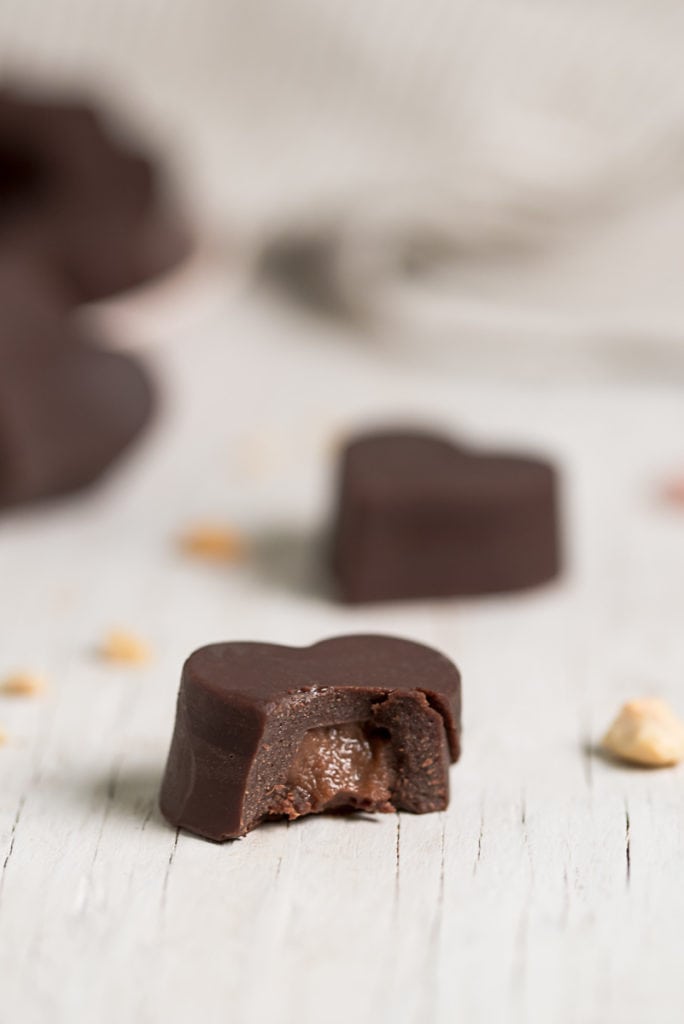
These Homemade Hazelnut Truffles have a dark chocolate coating and a creamy chocolate hazelnut filling, giving them a smooth, melt-in-you-mouth texture with a roasted, nutty inner flavour. They are decadent but not overly sweet.
Yes, instead of using small candy moulds, you can use a chocolate bar mould. If you don't have any moulds at all, you can use unbleached parchment or wax paper to line a square or rectangular dish. Pour the bottom layer of chocolate first, set it in the freezer, then spread a thin layer of the hazelnut filling on the hardened chocolate, leaving a little space around the edges. Then, pour the top layer of chocolate over. Once the chocolate has set, you will need to use a sharp knife to slice it into bars.
Since these homemade Truffles have a creamy hazelnut centre, they won't last as long as plain homemade chocolate. To prevent melting, they are best stored in an airtight container in the fridge or freezer. They will last 2 - 3 weeks in the fridge and up to 6 months in the freezer.
Healthy Chocolate Hazelnut Truffles (Creamy Filling)
Print RecipeEquipment
- High Speed Blender
- Double Boiler
- Oven
- Silicone Chocolate Moulds (or Candy Moulds)
- Piping Bag (or Small Spoon and Spatula)
- 9 x 13 Baking Sheet (or Roasting Dish)
Ingredients
Chocolate Hazelnut Filling
- 1.5 cups Raw Hazelnuts (Unsalted)
- 1 cup Coconut Milk
- ½ cup Pure Maple Syrup
- ¼ cup Cacao Powder
- 75 grams Cacao Butter (¼ cup melted)
- 1 tablespoon Unrefined Coconut Oil
- 2 teaspoon Pure Vanilla Extract
- Pinch of Himalayan Salt (or other Natural Mineral Salt)
Chocolate Coating
- 100 g Cacao butter (½ cup melted)
- ¼ cup Cacao Powder
- 3 tablespoon Pure Maple Syrup
- 1 teaspoon Pure Vanilla Extract
Instructions
Chocolate Hazelnut Filling
- Preheat your oven to 350° F.Spread the raw hazelnuts evenly on a baking sheet or in a roasting dish, making sure not to overcrowd them. A 9" x 13" baking sheet is big enough for a single batch of this recipe. Then, place the hazelnuts in the oven roast for 15 - 20 minutes or until they begin to brown.
- Once the hazelnuts are roasted, remove them from the oven and let them cool for a few minutes before handling. Don't cool them completely if your hazelnuts still have the skin intact. It is much easier to remove the skin while they are still warm.To remove the hazelnut skins, place the roasted hazelnuts in a clean cloth (while still warm) and vigorously rub them together. Some bits of skin will remain, and that's okay! If you're using pre-skinned hazelnuts, skip this part of the step.Once you're satisfied with your de-skinned hazelnuts, set them aside.
- In a double boiler, melt the cacao butter and coconut oil over low heat. Again, if you do not have a double boiler, you can carefully and slowly melt it in a small pot over very low heat. Once melted, immediately remove the cacao butter and coconut oil from the heat.
- Place the roasted and de-skinned hazelnuts in a high-speed blender with the melted cacao butter, coconut oil, maple syrup, coconut milk, vanilla extract, cacao powder and Himalayan salt. Blend it all together until it turns into a smooth cream (you may need to scrape the sides down a few times).Scoop your filling into a glass container and place it in the fridge until you're ready to use. You want it to be chilled so it doesn't melt the bottom layer of chocolate.I should note that you will have much more chocolate hazelnut filling than needed for a single batch of these truffles. So, you can either make additional batches of the outer coating to make more truffles or use the remaining filling as a yummy chocolate hazelnut spread! It's like a healthy version of Nutella.
Chocolate Coating
- First, melt the cacao butter in a double boiler. If you don't have a double boiler, you can carefully and slowly melt it in a small pot over very low heat. Whether using a double boiler or not, make sure to keep a close eye on it to avoid burning. Overheating can create a bitter flavour and destroy beneficial nutrients.Once the cacao butter is melted, immediately remove it from the heat.Next, stir in the cacao powder and maple syrup and mix until well combined. At this point, it should resemble melted chocolate.
- Using half of the melted chocolate coating, pour a thin layer into the candy or chocolate moulds to coat the bottom. This will be the bottom of the chocolate truffles. So, make sure to leave room in the moulds for the hazelnut filling and the top layer of the chocolate coating.Place the candy mould into the freezer to let the bottom half of the truffles set. They will need at least 1 hour to harden.
Truffles
- Once the bottom layer of your truffles have hardened, remove them from the freezer.If using a piping bag, place a few scoops of the chilled hazelnut filling into the bag and squeeze a little dollop into each mould on top of the hardened chocolate. If you don't have a piping bag, you can carefully use a spoon and small spatula to drop the hazelnut filling in each mould. You can also use parchment paper as a homemade piping bag. I found this video helpful to learn how.Once each chocolate truffle bottom has a dollop of filling, return the mould tray to the freezer while you re-melt the remaining chocolate.
- Once the remaining half of the chocolate coating has been remelted, remove the moulds from the freezer. Pour the melted chocolate into each mould, covering the hazelnut filling. Make sure to pour enough to fill up the moulds and completely cover the chocolate hazelnut filling.
- Place the moulds back into the freezer to let the top layer of chocolate set. Again, at least one hour should do it. However, if you've made larger truffles, they could take up to 4 hours.
- Once the truffles have hardened, very carefully press the bottom of each mould and pop out each truffle.It's best to store these Chocolate Hazelnut truffles in the fridge or freezer to avoid melting. If you store them in the freezer, they will last up to 6 months.
Rate this Recipe & Share How it Turned Out!