The contents of this article are human-created.
This post may contain affiliate links. Please see my full disclosure for details.
Learn how to make Unsweetened Almond Milk from scratch! It's a simple, nutritious homemade staple that's perfect for dairy-free cooking and baking.
*Nutrition Disclaimer: The information provided on this site is designed for educational purposes only. You should not rely on this information as a substitute for, nor does it replace professional medical advice, diagnosis, or treatment. Please read my disclaimers page for more information.
Almond milk has gained massive popularity as a dairy-free and vegan-friendly milk alternative. It's a versatile staple perfect for cooking, baking and making creamy sips.
However, not all Almond Milk is made the same. Making it at home is an easy, low-cost way to enjoy the goodness of pure Almond Milk without all the additives and sweeteners.
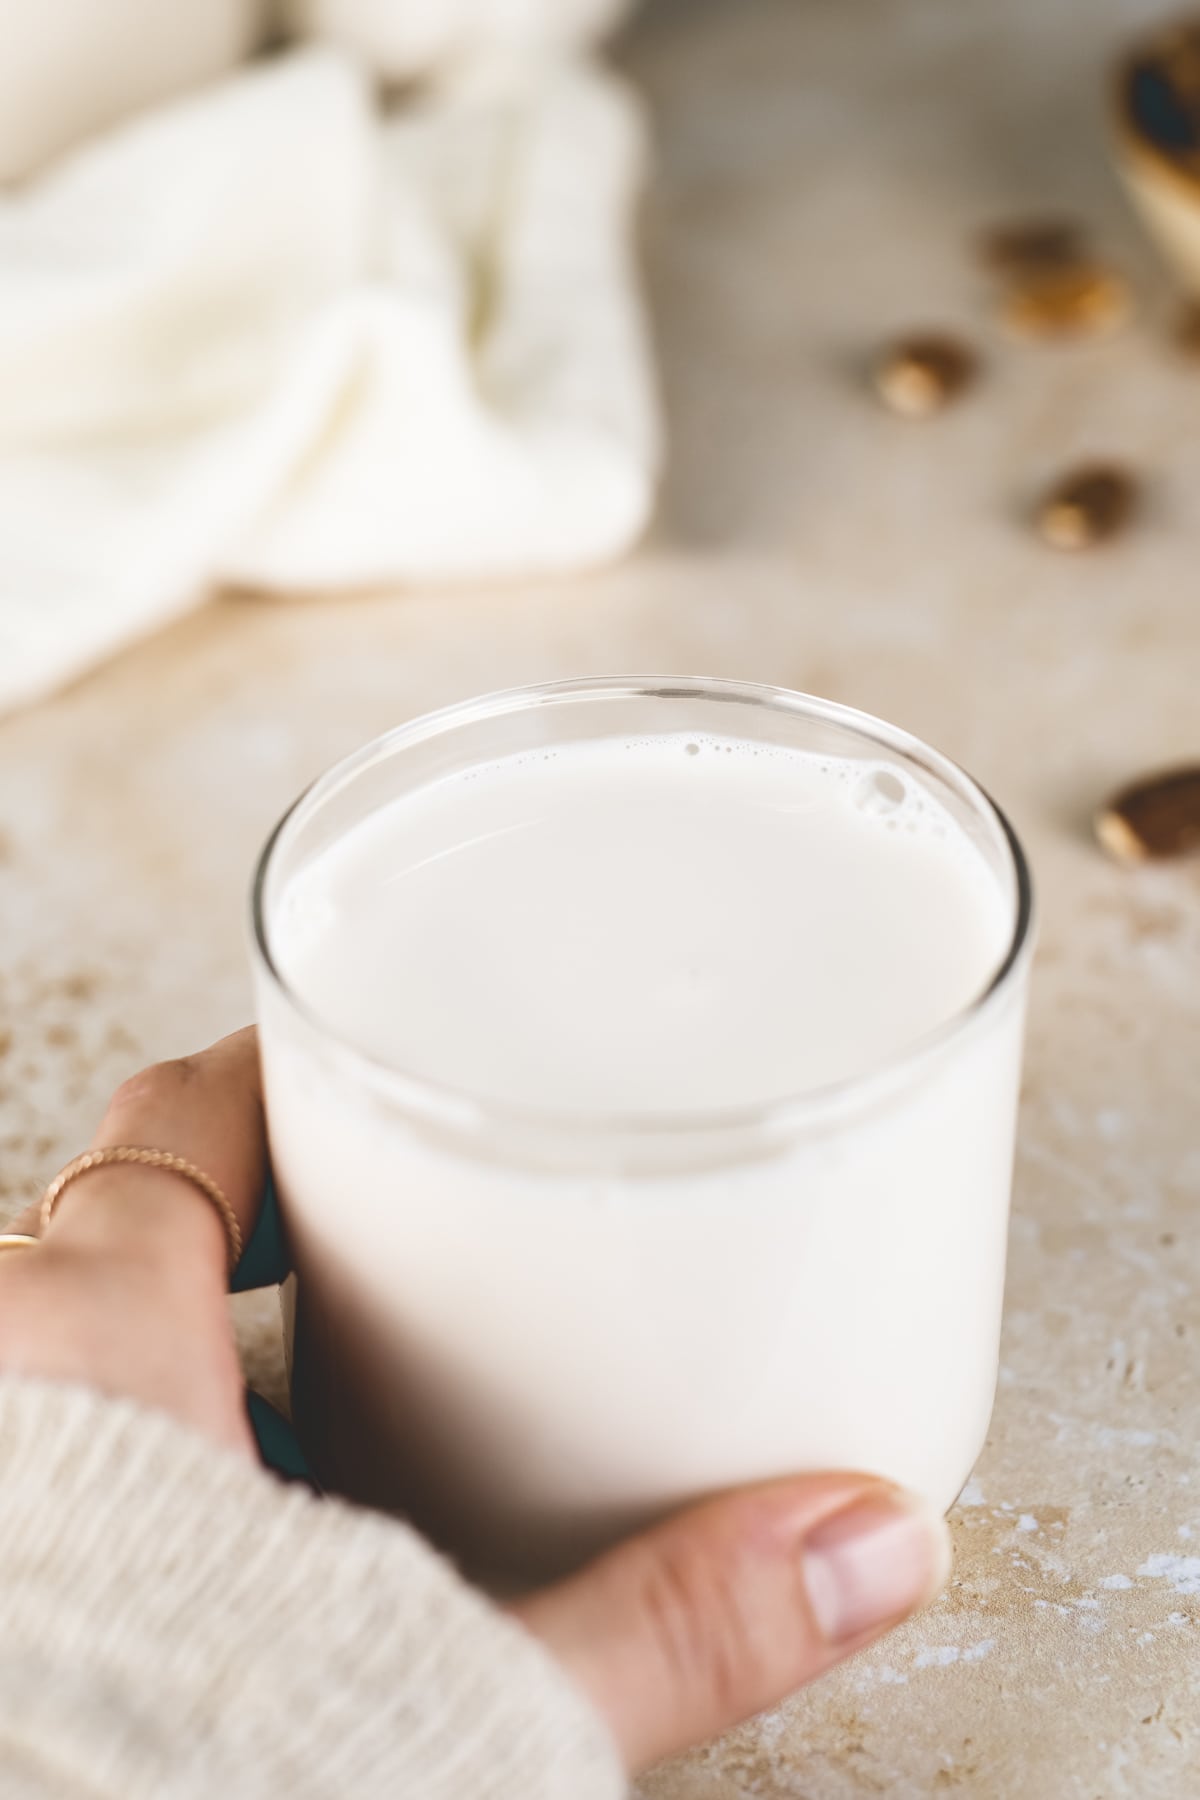
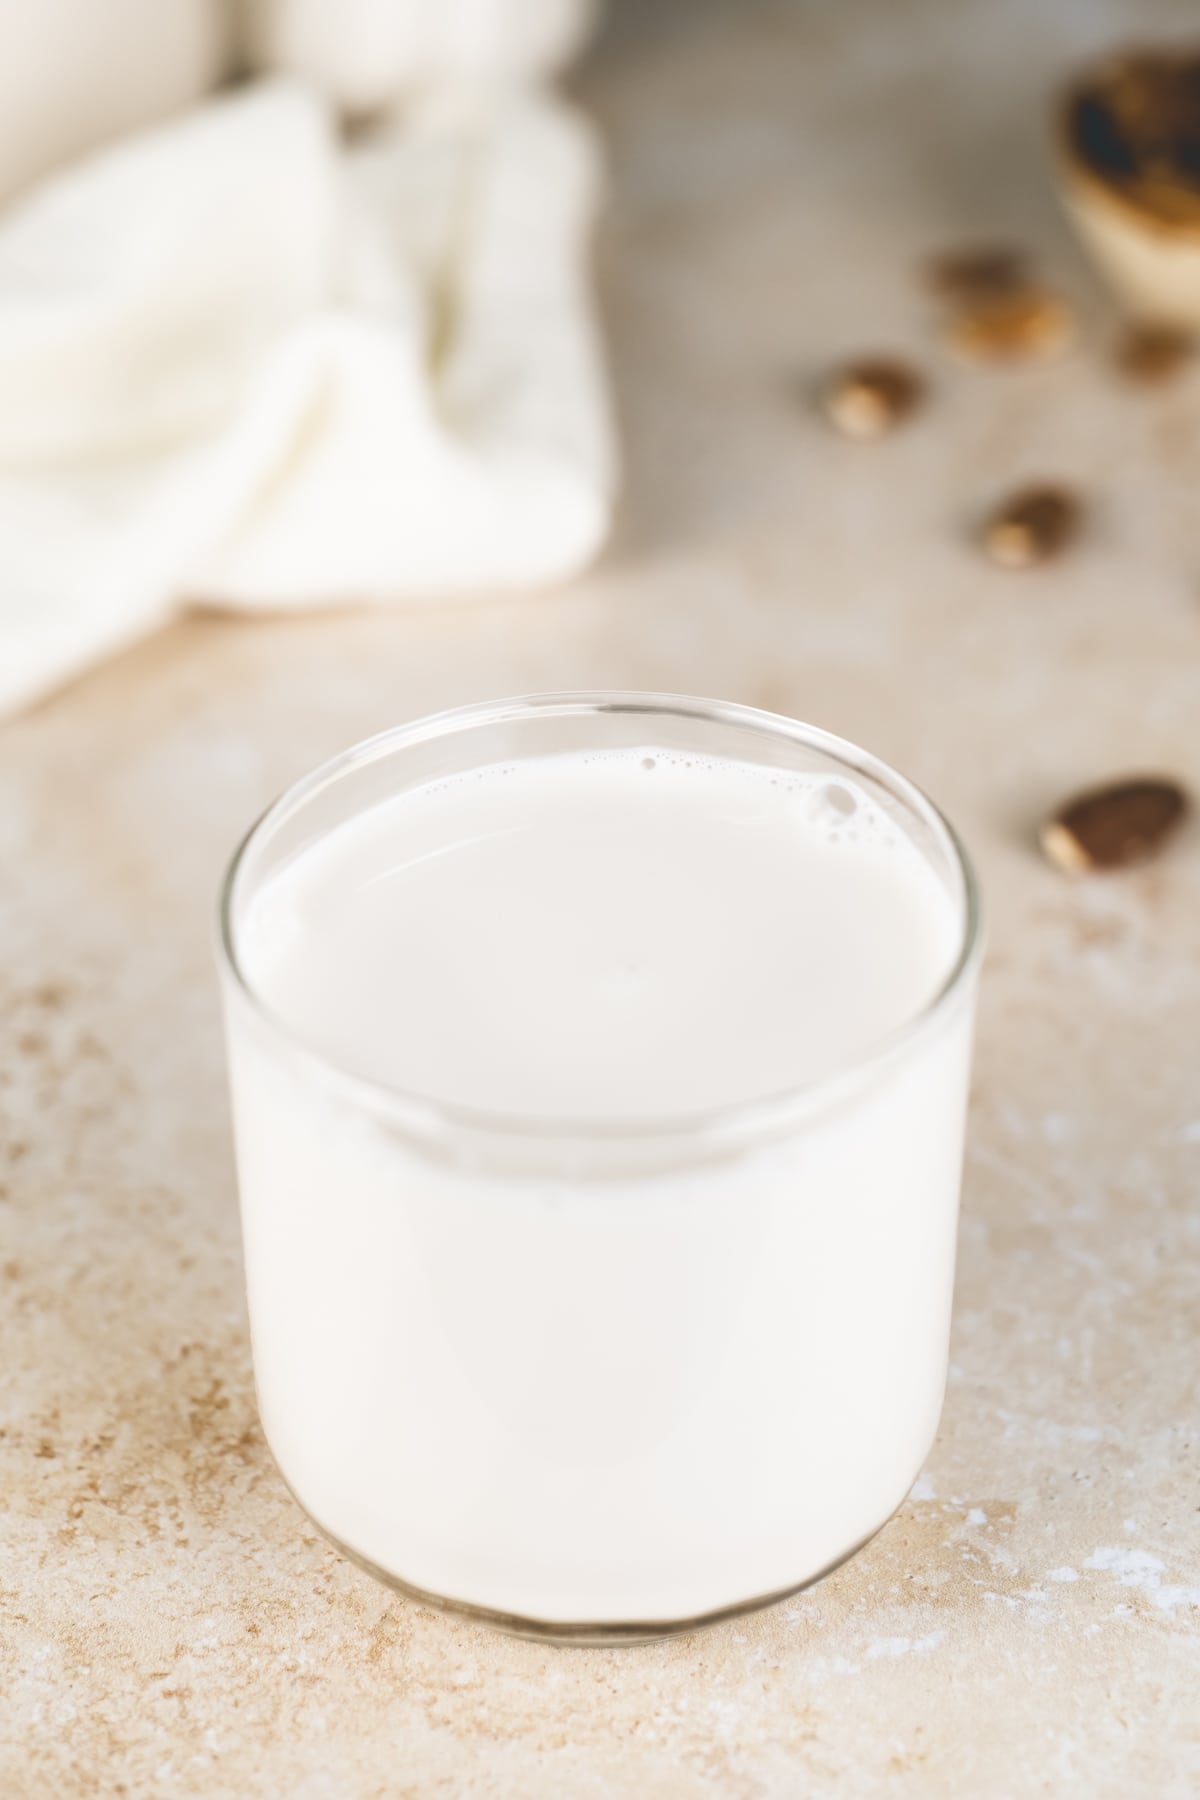
Light yet creamy with a subtle nutty flavour, Homemade Almond Milk can add that extra touch to enhance dairy-free drinks and dishes. Not to mention the nutritional value it adds.
Is Almond Milk Healthy?
Not all Almond Milk is created equal. Many store-bought brands contain sugar and emulsifiers that can be harmful to gut health.
That's why making it at home is the healthiest option. Homemade Almond Milk is a great source of vitamins, minerals, amino acids and healthy fats.
Health Benefits
Vitamin & mineral-rich. Almond Milk is an excellent source of many nutrients, including vitamin E, magnesium and calcium.
Heart-healthy. Almond Milk is full of heart-healthy fats, cholesterol-lowering and heart-protective properties.
Low-sugar. This Homemade Almond Milk is unsweetened, making it a great low-sugar option.
Source of Protein. Almonds provide essential amino acids and can contribute to daily protein intake.
Seasonal Benefits
Summer: Almond Milk is a wonderfully hydrating dairy-free milk alternative for those hot summer days.
Autumn & Winter: Full of healthy fats, protein and many nutrients, almond milk is great for adding to creamy, dairy-free soups and cozy winter drinks.
How to Make Unsweetened Almond Milk
Making Homemade Unsweetened Almond Milk is actually quite simple, as long as you have the right tools! It only takes a few minutes when it comes to hands-on prep. Follow the steps below or watch the video!
What You Will Need
Equipment
- Blender. Although a blender is necessary for smooth, creamy almond milk, even a low-power blender will work!
- Nut Milk Bag or Cheesecloth. Especially if you're using whole, unblanched almonds, you will need to squeeze your Almond Milk through a Nut Milk Bag or cheesecloth. However, I find that a proper Nut Milk Bag gives the smoothest results.
- Bowl / Large Measuring Cup. You will need a measuring cup or bowl to strain the milk into. You will also need it if soaking your almonds.
- Clean Jar for Storing. If you aren't using up all your almond milk right away, you will need a clean, airtight jar for storing.
- Bowl / Sealable Container for Soaking. If you are soaking your almonds before blending, you will need a bowl or container to soak them in.
Ingredients
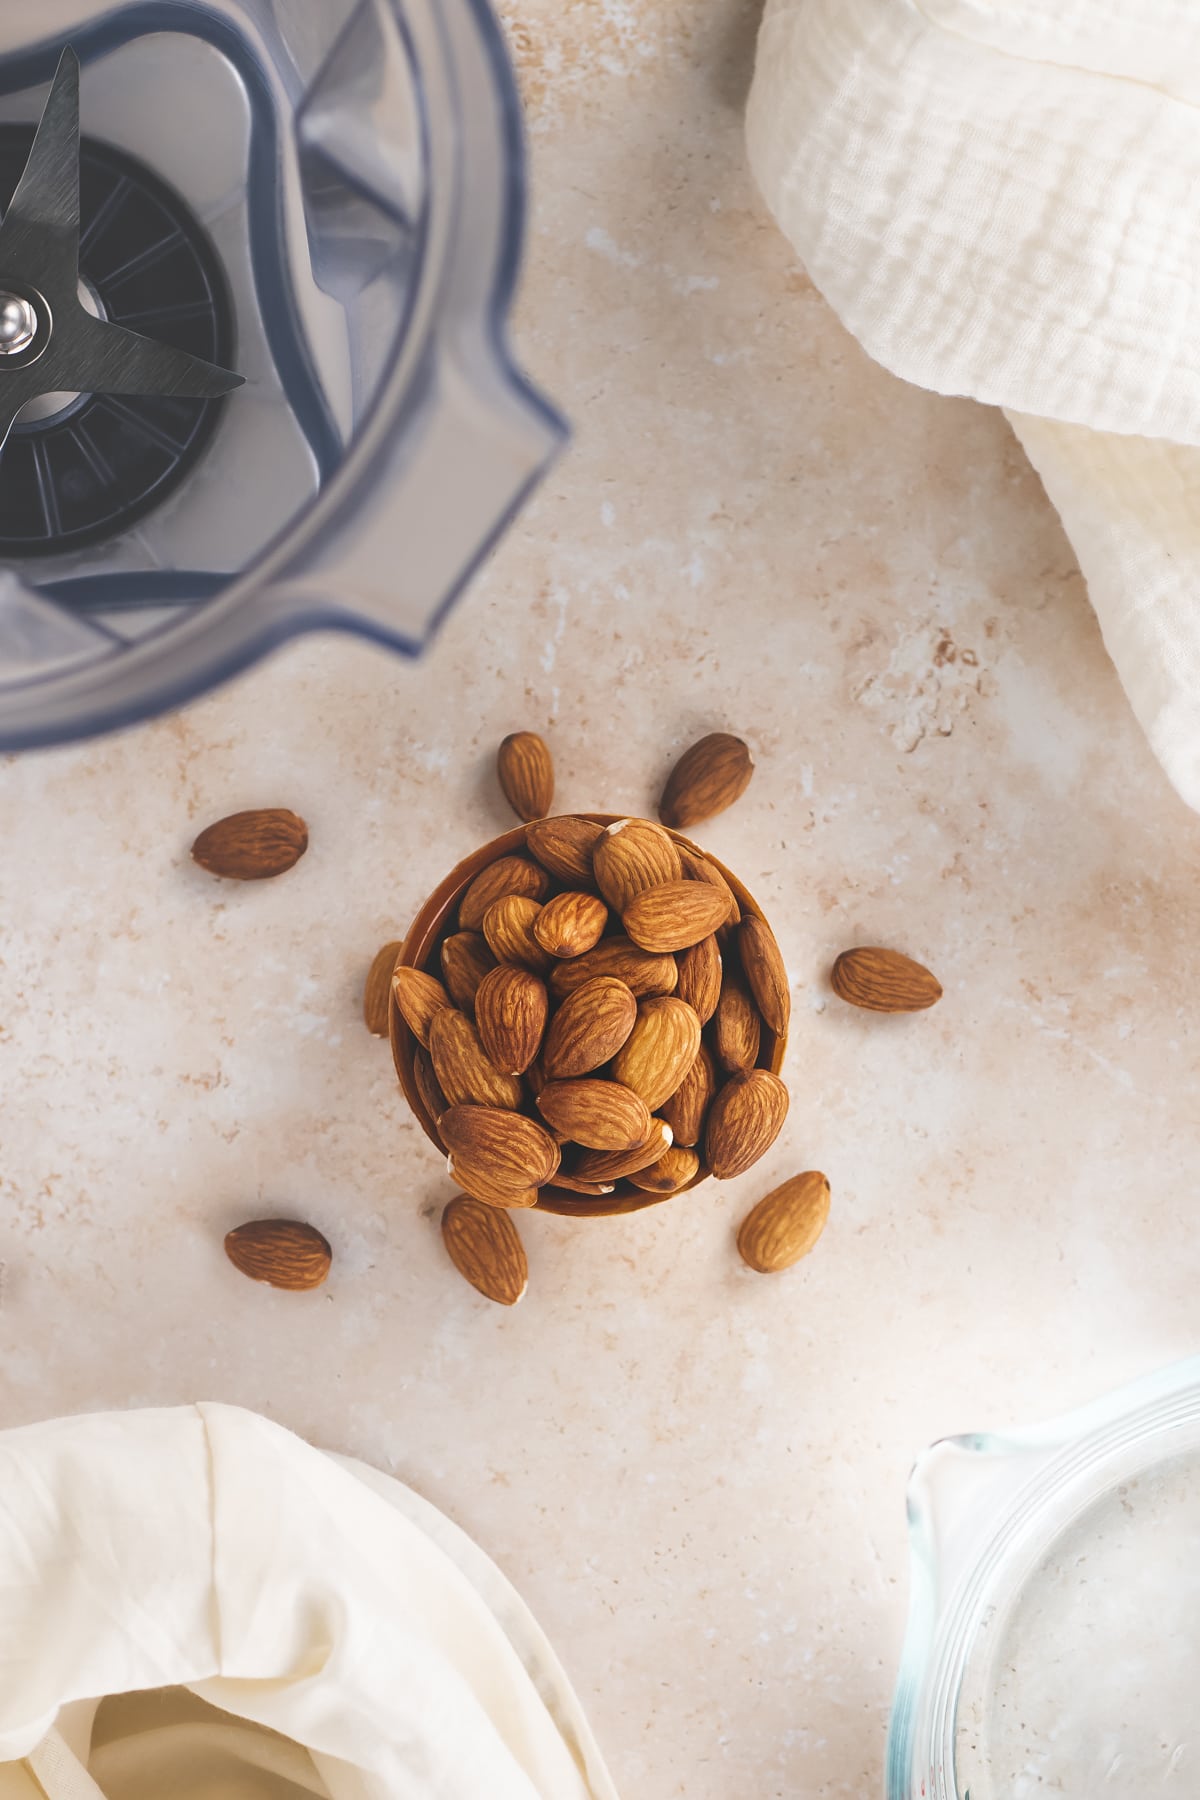
- Whole Raw Almonds. Organically grown whole almonds are always best to get the purest milk. However, any type of raw almonds will work.
- Filtered / Spring Water. For the best taste and purest quality, using filtered or spring water is best.
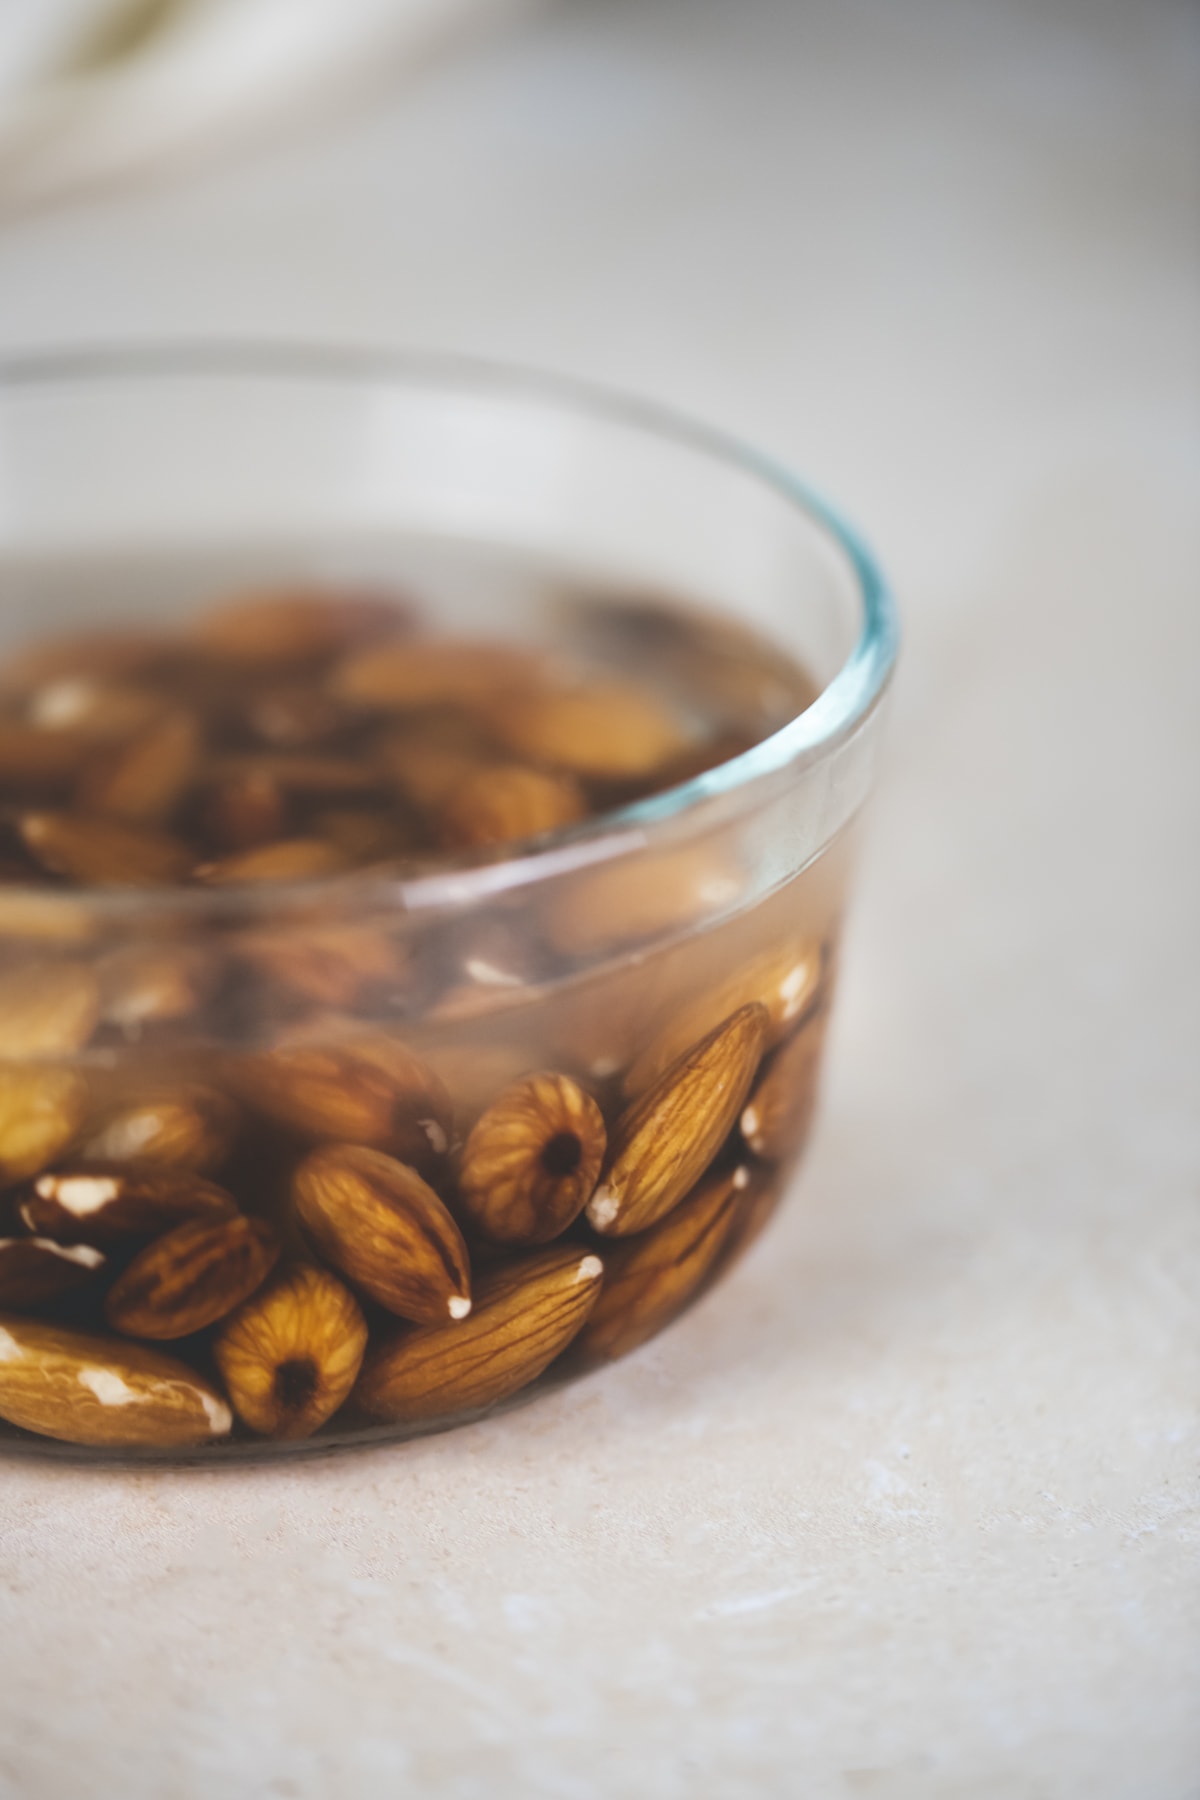
Step 1: Soak Almonds
If you have a powerful enough blender, this step can be skipped. However, if you have time, soaking your almonds before blending will yield the creamiest results.
It can also be beneficial for those with digestive and gut imbalances. Adding a teaspoon of apple cider vinegar or kelp powder can help further aid in digestibility and nutrient absorption.
To soak:
- Place your almonds in a sealable glass container and add enough water to cover and submerge the almonds completely.
- Optionally, add a teaspoon of apple cider vinegar or kelp powder.
- Seal the container and place in the fridge to soak for 8 - 12 hours. You can leave your almonds soaking for up to 24 hours. However, soaking for 24 hours or longer can reduce the shelf-life of your almond milk.
Another option is to give them a quick soak in hot water for 10 - 20 minutes.
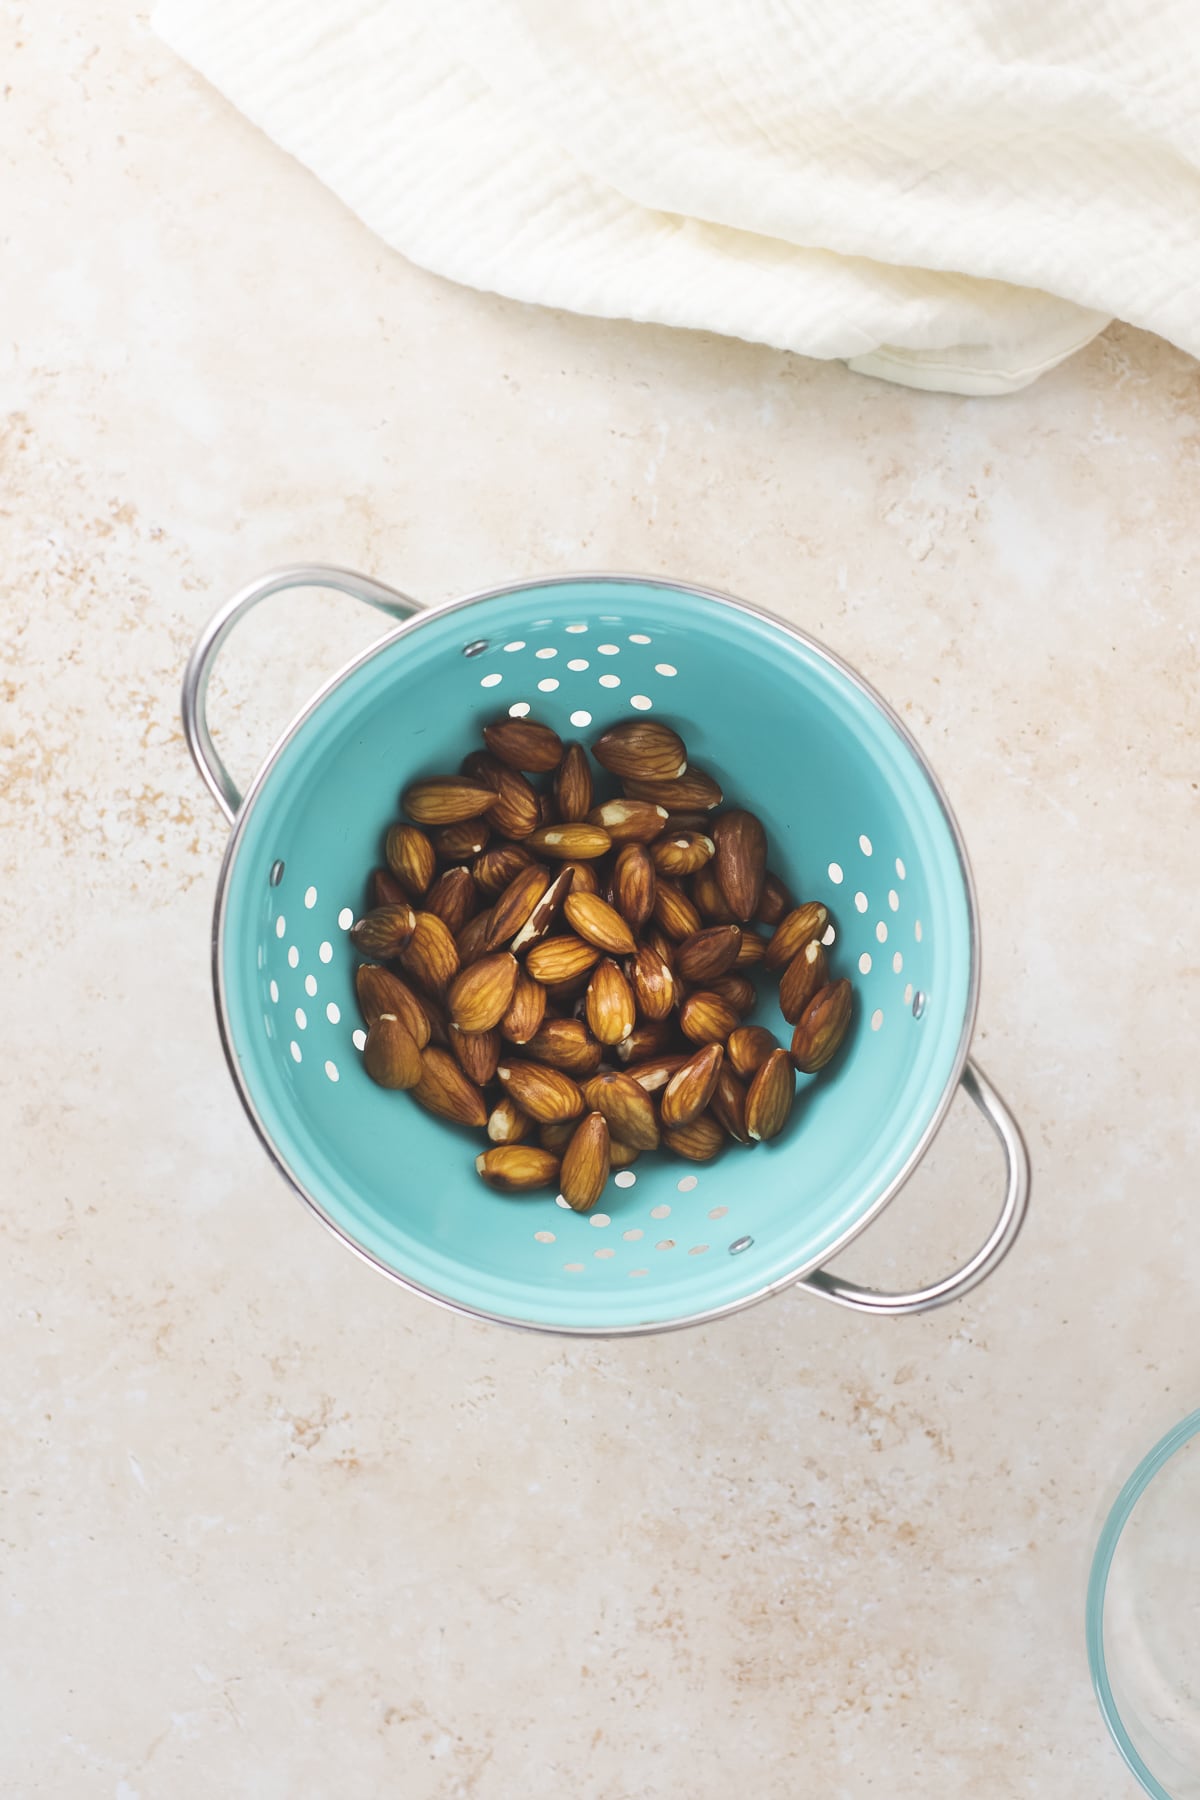
Step 2: Rinse
Once your almonds have soaked, strain out the soaking water and give them a good rinse.
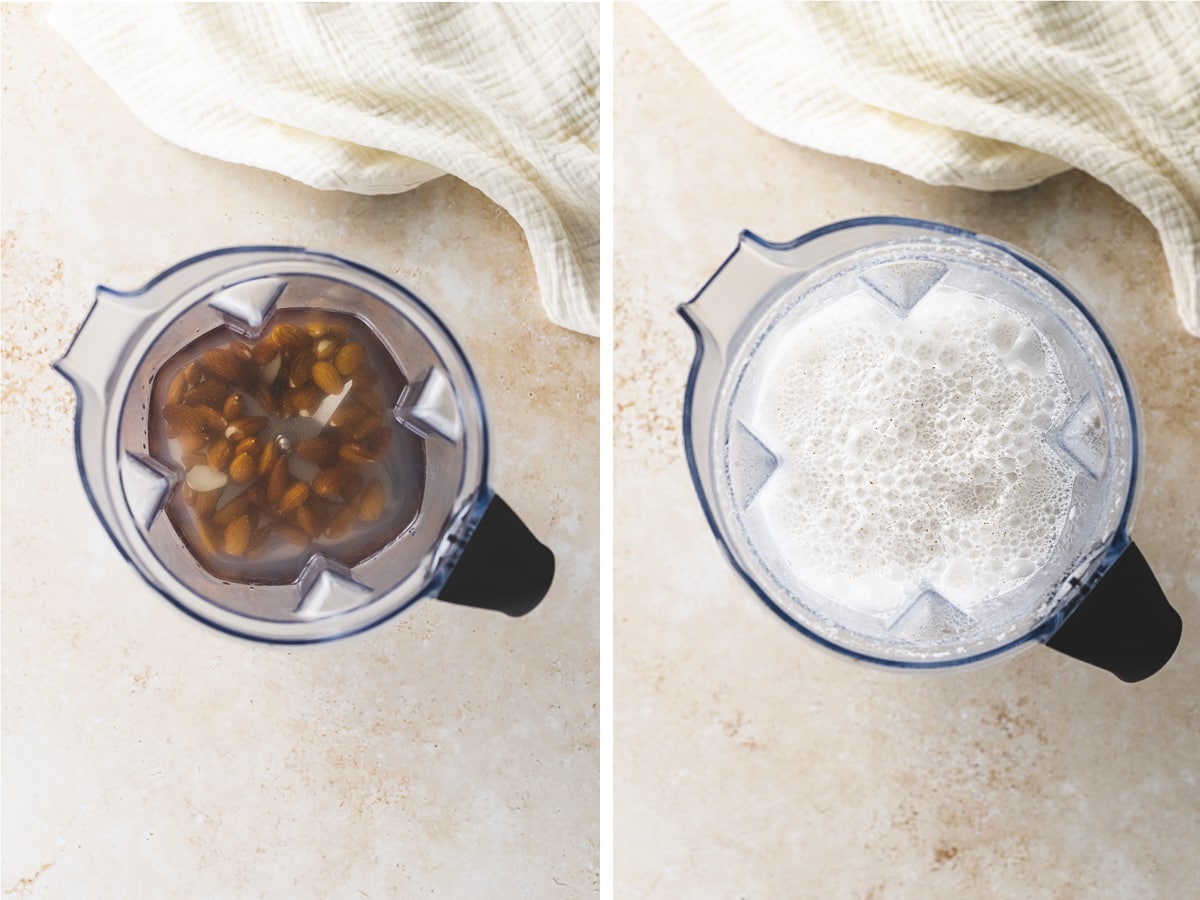
Step 3: Blend
Add the almonds and fresh water to your blender jug. Cover and blend until the almonds have broken down to a pulpy texture.
Depending on your blender, this can usually take 1 - 2 minutes. Once the almonds have broken down and the milk becomes frothy and creamy, reduce the blending speed and turn off the blender.
No matter how powerful the blender or how long you blend, you will always end up with some almond pulp to strain out. That's why using a quality cheesecloth or nut milk bag is crucial in making perfectly smooth almond milk.
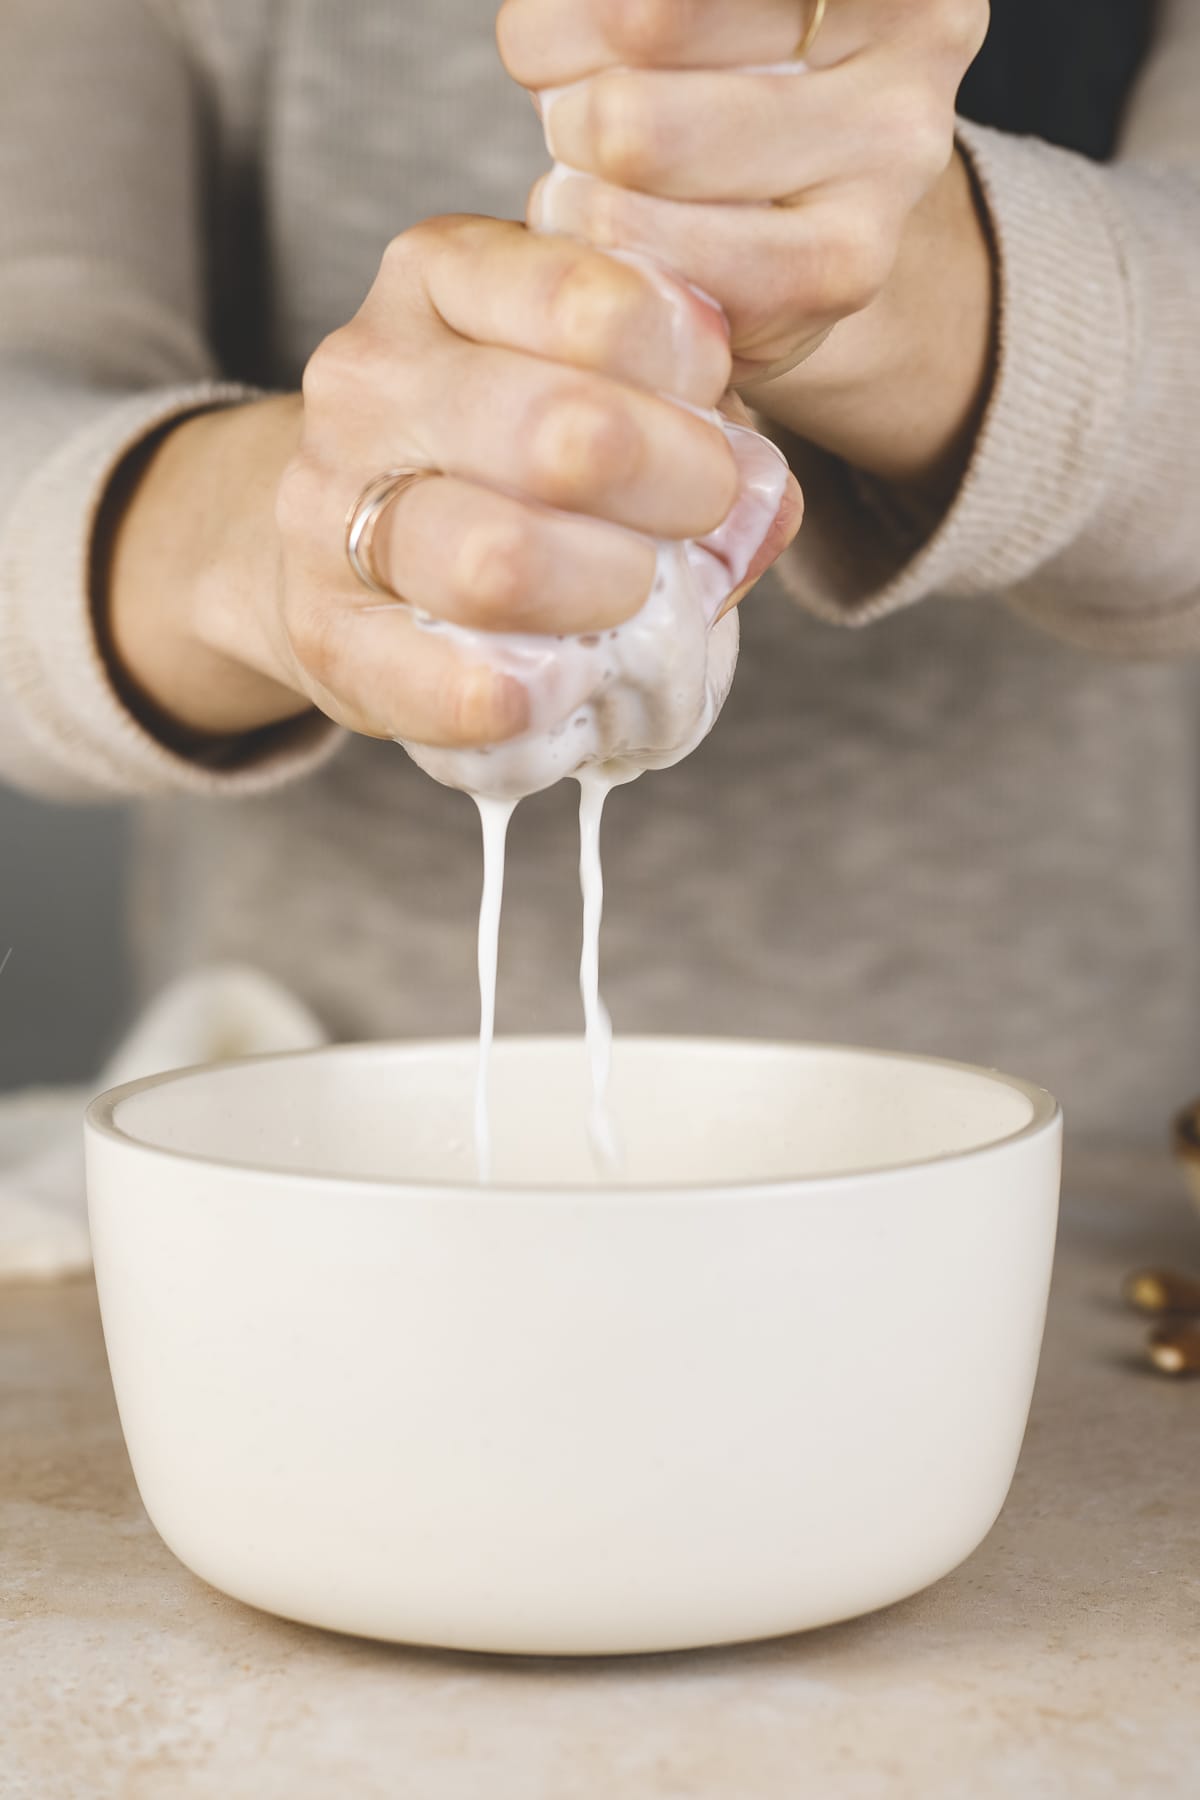
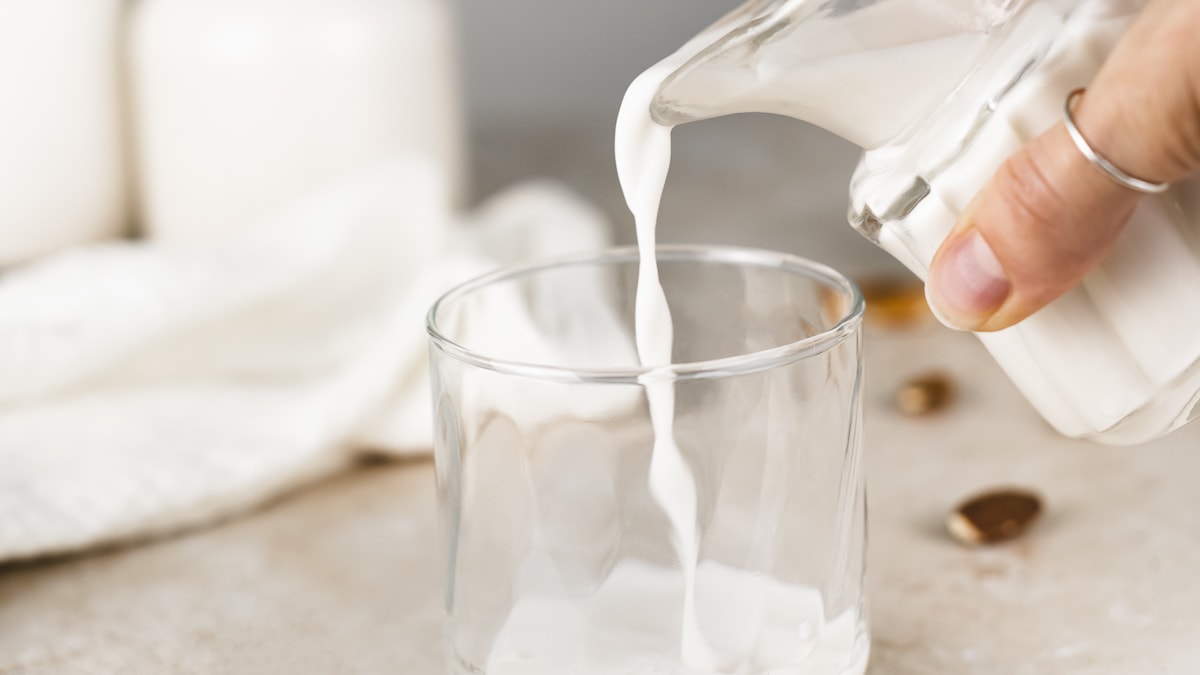
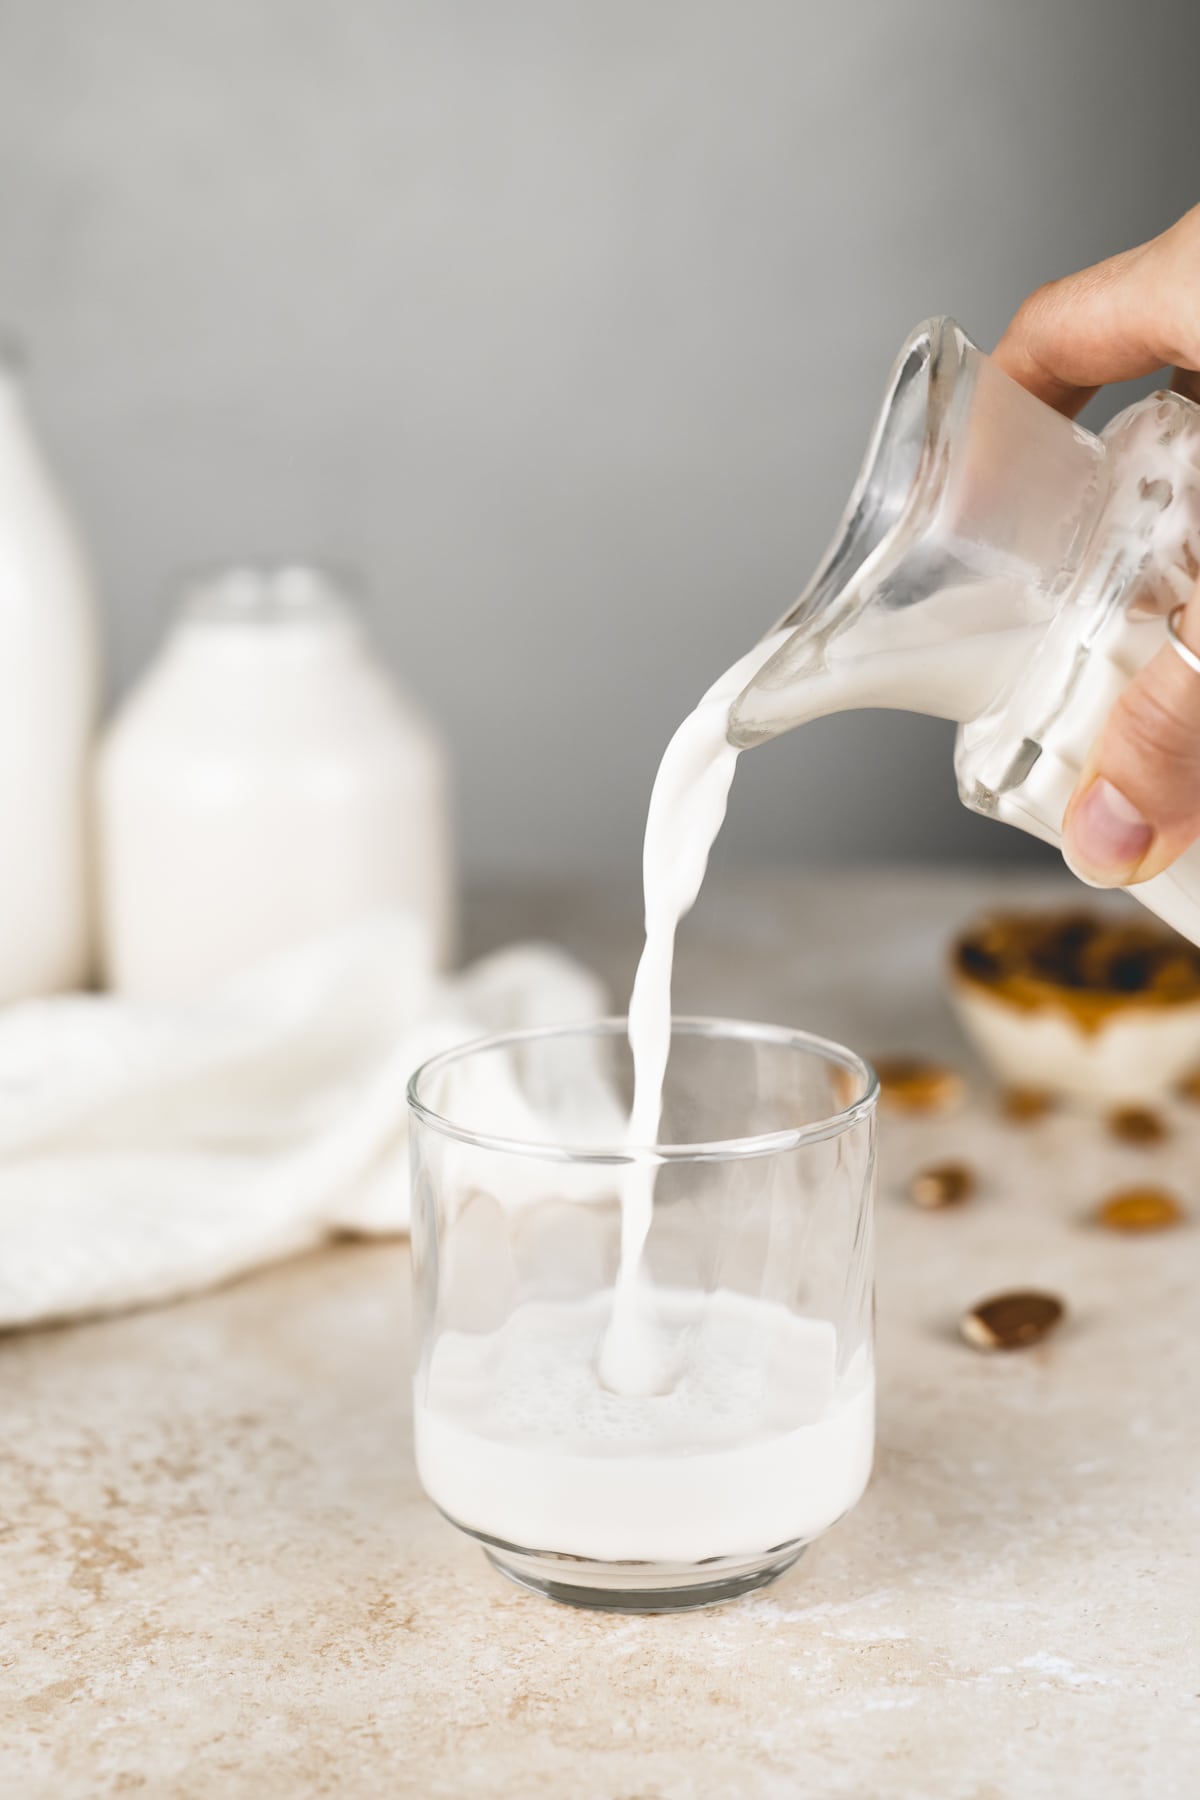
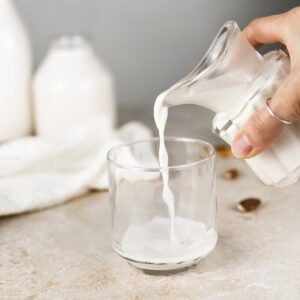
Step 4: Strain
Drape your Nut Milk Bag or cheesecloth over a bowl or measuring cup and pour your blended almond milk through. Make sure the top of the bag is closed, and squeeze the milk through the bottom.
My Top Tips
- Use organic raw almonds to make the most gut-friendly and nutritious Almond Milk. Also, using raw almonds is the key to making Almond milk! Roasted almonds are great for making nut butter, but they're not so great when it comes to milk.
- Use a nut milk bag or cheesecloth to get the smoothest results. While in a pinch, I myself have used anything on hand, including a fine-mesh tea strainer, to make some Homemade Almond Milk (where there is will, there is a way!). However, as mentioned before, a well-made Nut Milk Bag is essential for making perfectly smooth and creamy Almond Milk.
- Soak your almonds to make them softer and easier to blend. Especially if your blender isn't high-powered, soaking helps reduce blending time, creates less pulp and yields creamier results.
- Less is more when it comes to Almond Milk. Unlike some homemade plant milks, more doesn't necessarily mean creamier. I find adding too many almonds can create more pulp than milk and can put more wear on your blender. From my experience, adding no more than 2 cups of almonds to 4 cups of water yields the creamiest results.
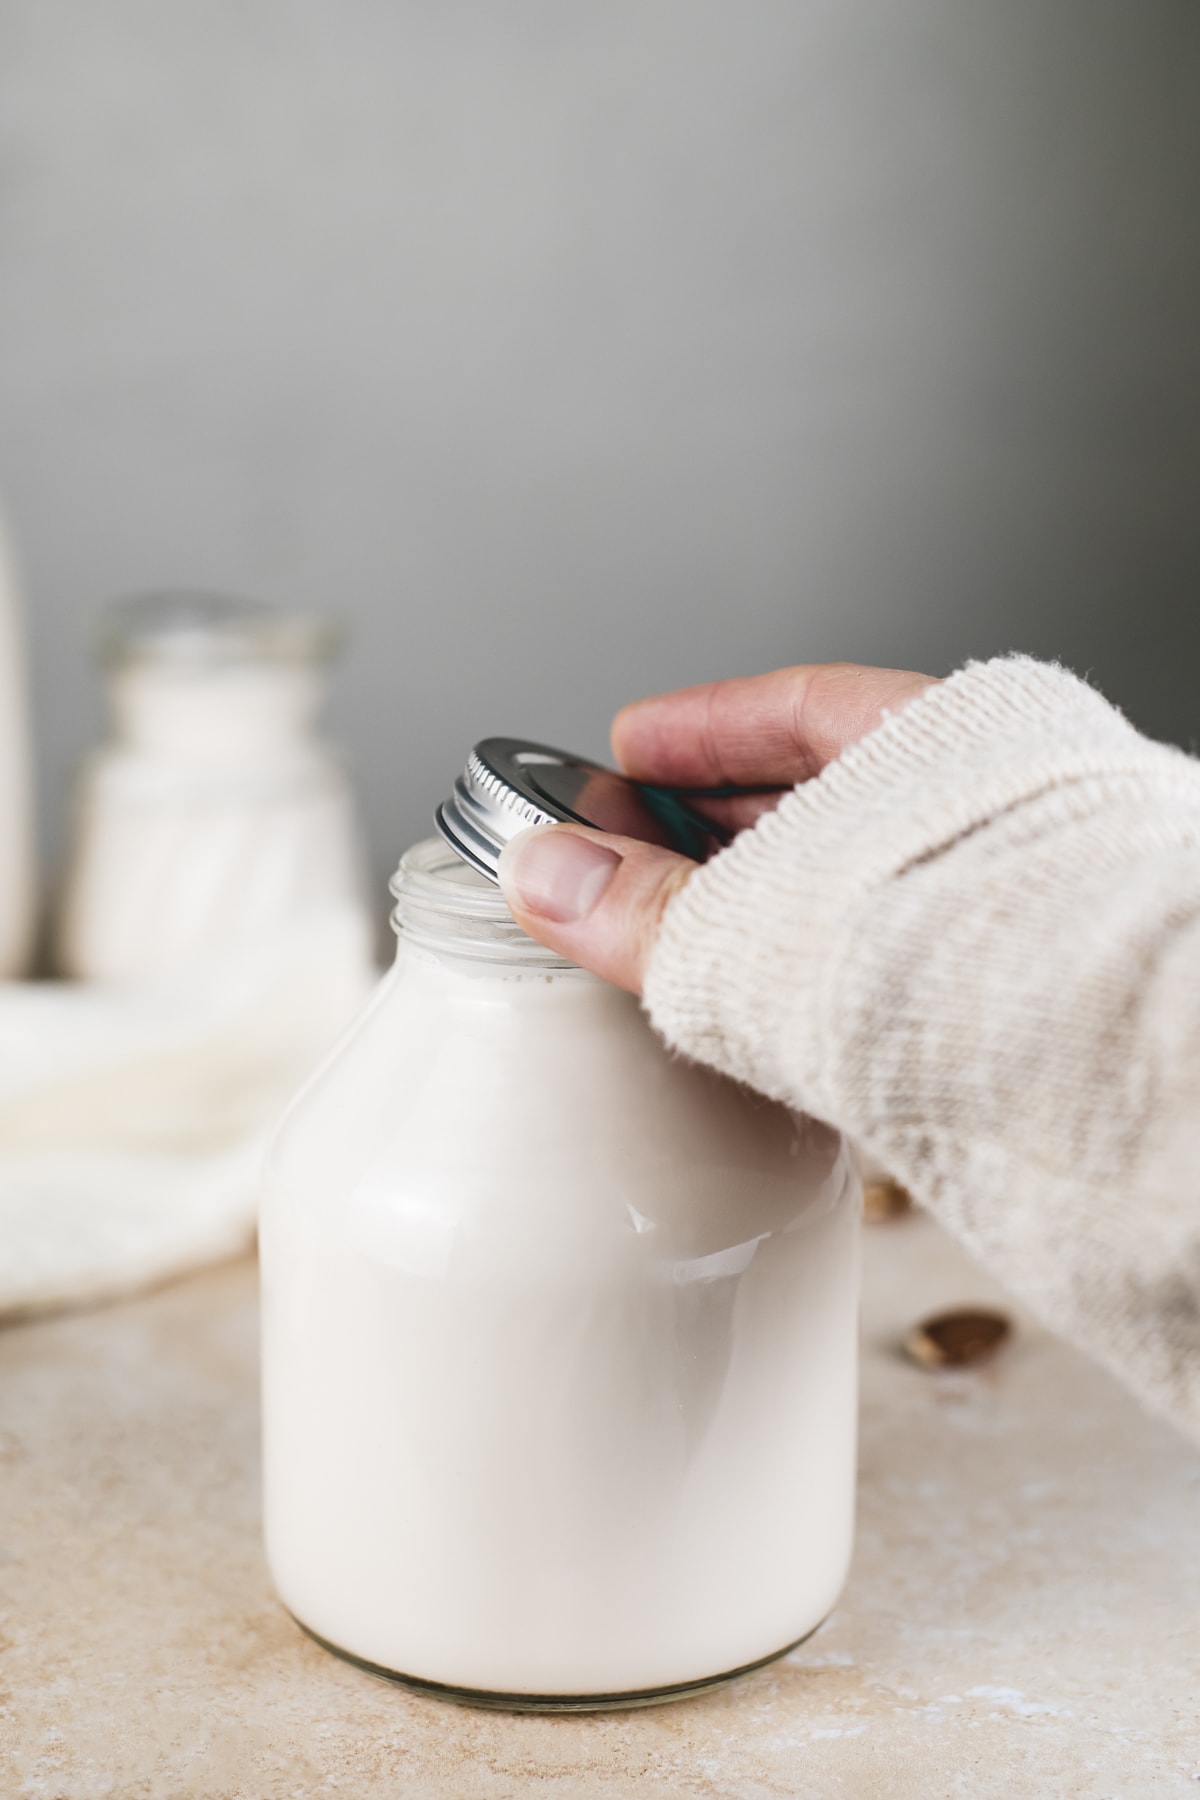
Storing & Saving
Store your Homemade Almond Milk in a clean, well-sealed jar (glass is best) in the fridge for 3 - 5 days. I find that it is generally best consumed within the first 3 days.
Keeping your soaking time under 24 hours can help prevent it from spoiling too soon. If you find the smell is off, it has become chunky or slimy, it has probably spoiled or should be thrown away.
Since Homemade Almond Milk is prone to separation, I would avoid freezing.
Ways to Use Homemade Unsweetened Almond Milk
This Almond Milk can be used in any recipe that calls for milk. I love using it for healthy homemade lattes like pumpkin spice, cinnamon dandelion or fresh turmeric golden milk. It's also a delicious addition to creamy soups like cream of beetroot, homemade tomato or roasted butternut squash.
Some of my other favourite ways to use Homemade Almond Milk are in this berry beet smoothie bowl, avocado moringa smoothie, homemade icing and sweet potato muffins.
FAQs
It is normal for some separation to occur in Homemade Almond Milk. This is because fats and water are not soluble, which means they do not naturally emulsify into one another. Store-bought versions of almond milk generally have added emulsifiers that can be harmful to gut health.
If your Homemade Almond Milk separates, you can simply give it a shake and it will mix back together. However, the closer it gets to spoiling, the more it begins to separate. So, if it smells off and has a chunky or slimy texture, it has likely passed its prime and is time to toss.
As mentioned above, the separation of fats and water is a natural occurrence and shaking it well before use helps to mix it back together. However, you can try adding a natural emulsifier such as sunflower lecithin, soy lecithin or xanthan gum. Some even say blending it with a pinch of baking soda can also work.
Since I typically use my Homemade Almond Milk within 3 days, I find this is an unnecessary step. Especially since the more it separates, the closer it is to spoilage. So, it can be a good indicator to check the smell and potentially toss.
The best way to store homemade almond milk is in a clean, airtight glass jar. Make sure it is well-sealed and refrigerated to prevent contamination and spoilage.
Plastic containers can often leach other flavours and tastes from previously stored foods or drinks, as well as toxins from the plastic itself. Glass is the easiest to clean and sterilize and does not leach other flavours or toxins.
Yes, Homemade Almond Milk does go bad. Since it is free of preservatives and has not undergone a pasteurization process, it spoils more quickly than store-bought. It can last 3 - 5 days in the refrigerator. However, I find it is best consumed within 3 days. Especially this unsweetened version.
Homemade Almond Milk can be refrigerated for 3 - 5 days. As mentioned above, I typically find it best consumed within the first 3 days. Keeping your soaking time under 24 hours, as well as storing your almond milk in a clean, airtight glass jar, can help to prevent it from spoiling too soon
Recipe Highlights
Dairy and lactose-free. Almond Milk is a delicious, hydrating and nutrient-rich dairy and lactose-free milk alternative.
Low-sugar. This Homemade Almond Milk is unsweetened with no added sugar, making it a low-carb and low-sugar option.
Nutrient-rich. Full of vitamins, minerals, protein and healthy fats, almond milk is a delicious source of nutrients.
Heart-healthy. Almonds are full of heart-protective properties and nutrients.
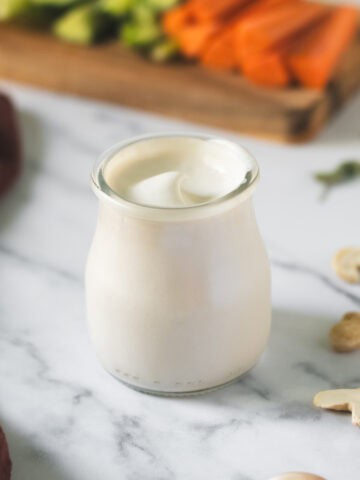
More Homemade Dairy-Free Staples
How to Make Unsweetened Almond Milk
Print RecipeEquipment
- Blender
- Nut Milk Bag / Cheesecloth
- Colander
- Bowl / Large Measuring Cup
- Bowl / Sealable Container for Soaking
- Clean Jar for Storing
Ingredients
- ½ cup Raw Almonds (See notes to adjust creaminess)
- 4 cups Filtered / Spring Water (Plus Extra for Soaking)
Instructions
- If you have a powerful enough blender, this step can be skipped. However, soaking your almonds before blending will yield the creamiest results. It can also be beneficial for those with digestive and gut imbalances. Adding a teaspoon of apple cider vinegar or kelp powder can help further aid in digestibility and nutrient absorption.To soak, place your almonds in a sealable glass container and add enough water to cover and submerge the almonds completely. Optionally, add a teaspoon of apple cider vinegar or kelp powder. Seal the container and place in the fridge to soak for 8 - 12 hours. You can leave your almonds soaking for up to 24 hours. However, soaking for 24 hours or longer can reduce the shelf-life of your almond milk. Another option is to give them a quick soak in hot water for 10 - 20 minutes.
- Once your almonds have soaked, strain out the soaking water and give them a good rinse.
- Add the almonds and water to your blender jug, cover and blend for up to 60 seconds, depending on your blender. Once you get a smooth blend, your milk is ready to strain. I should mention having pulp in your almond milk is completely normal. No matter how powerful the blender or how long you blend, you will always end up with some almond pulp to strain out. That's why using a quality cheesecloth or nut milk bag is crucial in making perfectly smooth almond milk.
- Drape your Nut Milk Bag or cheesecloth over a bowl or measuring cup and pour your blended almond milk through. Make sure the top of the bag is closed, and squeeze the milk through the bottom.
- Store your Homemade Almond Milk in a clean, well-sealed jar (glass is best) in the fridge for 3 - 5 days. I find that it is generally best consumed within the first 3 days.
Rate this Recipe & Share How it Turned Out!